
Monday Crafternoon | Custom Rubber Stamp
September 28, 2015

Monday Crafternoons are all about making your DIY project just a little more attainable. I was a serious DIY bride, with a handyman fiancé so we have a ton of projects under our belt. Let us know if there are any projects you want us to add to our series in the comments.
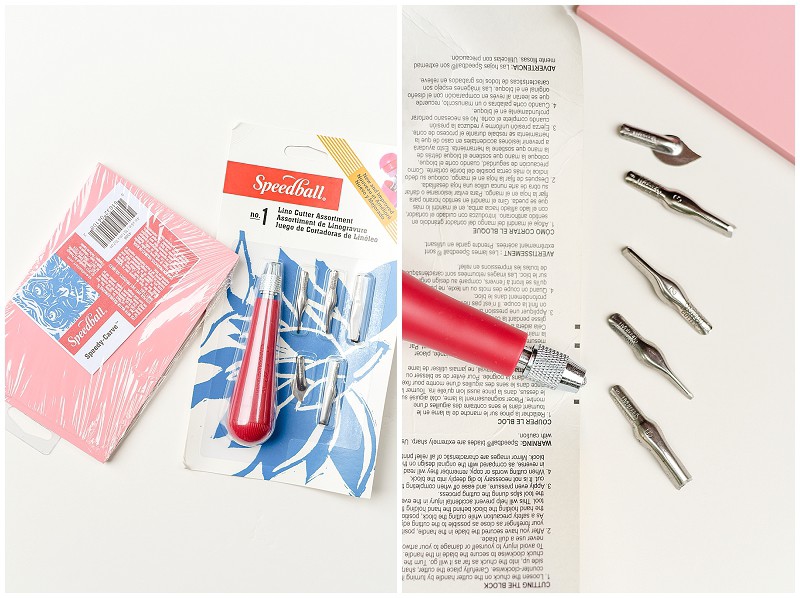
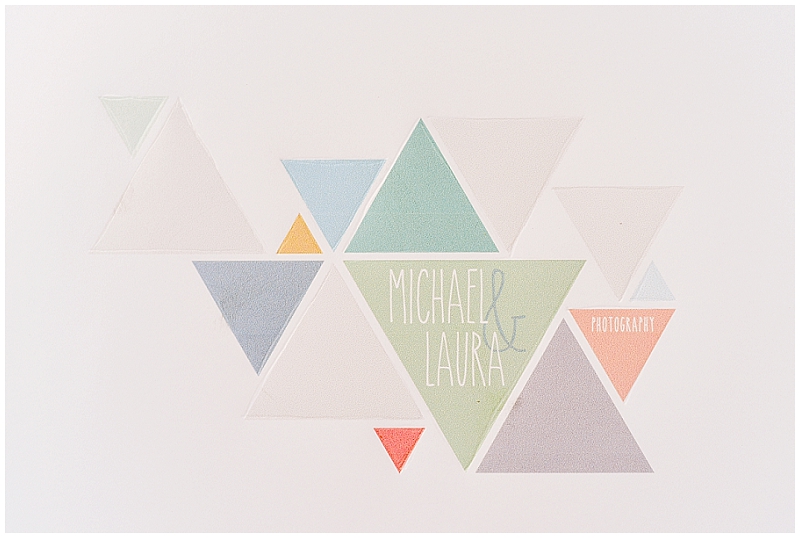
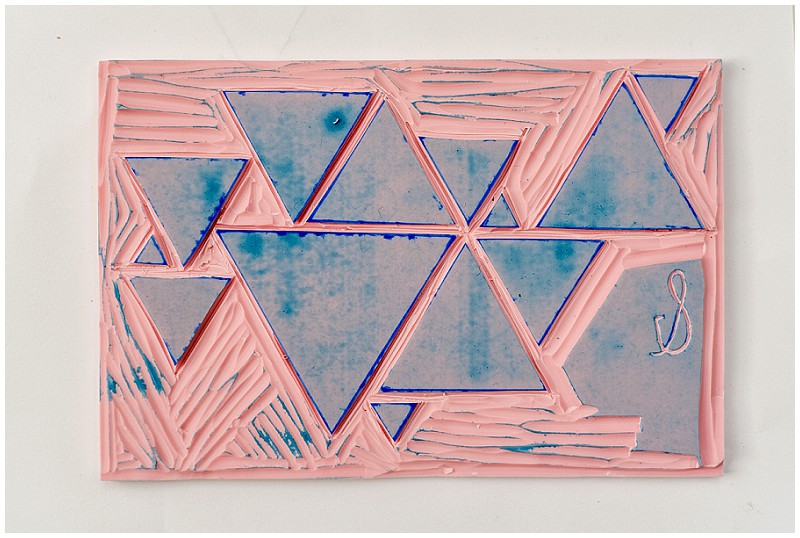
For this week’s crafternoon project we created a custom rubber stamp. I was really nervous this was going to be a huge waste of money, but I was super happy with how it turned out! This would be an AWESOME wedding DIY to use on envelopes, favors, programs, etc. We got almost all of our supplies from a nearby AC Moore, but all craft stores should have what you need and it was so much easier than I thought it would be.
The project: Custom Rubber Stamp
The difficulty level: So much easier than I thought it would be!!!
Time needed to complete: About an hour
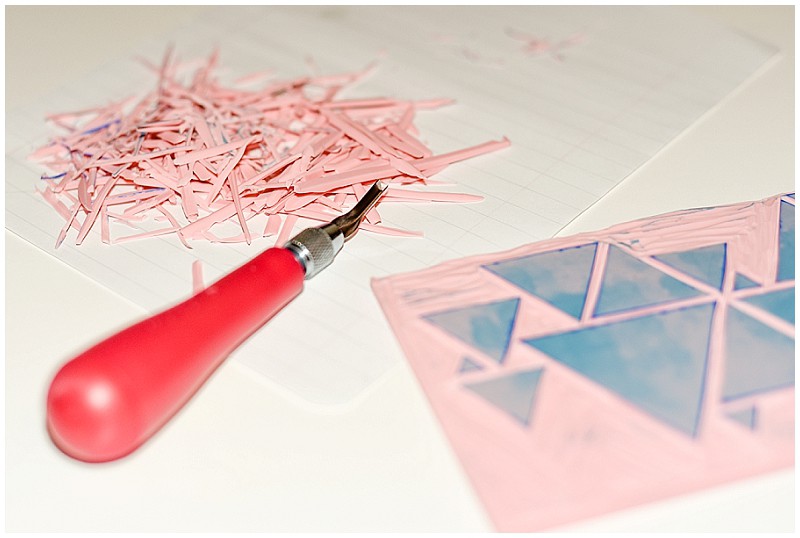
Materials needed: Rubber carving block, cutter
The Total Cost: About $10 (don’t forget to always pull up a 40% of coupon on your phone at AC Moore/Michaels!)
The Step-by-Step instructions:
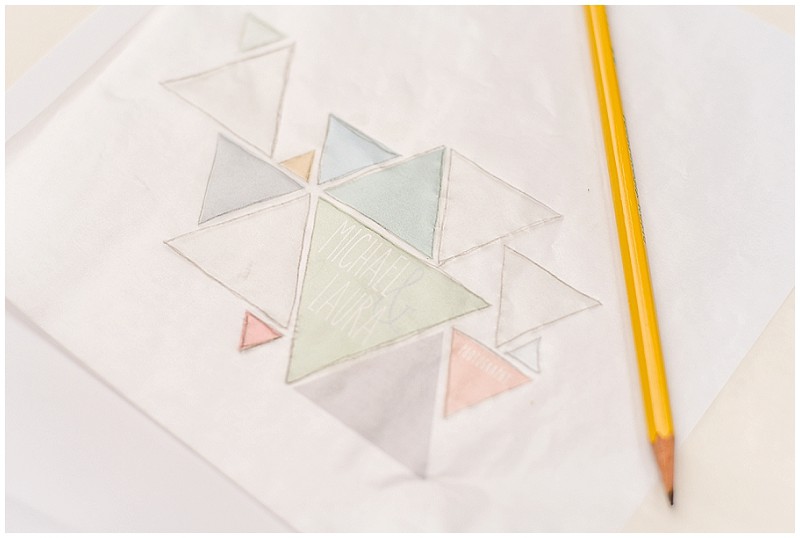
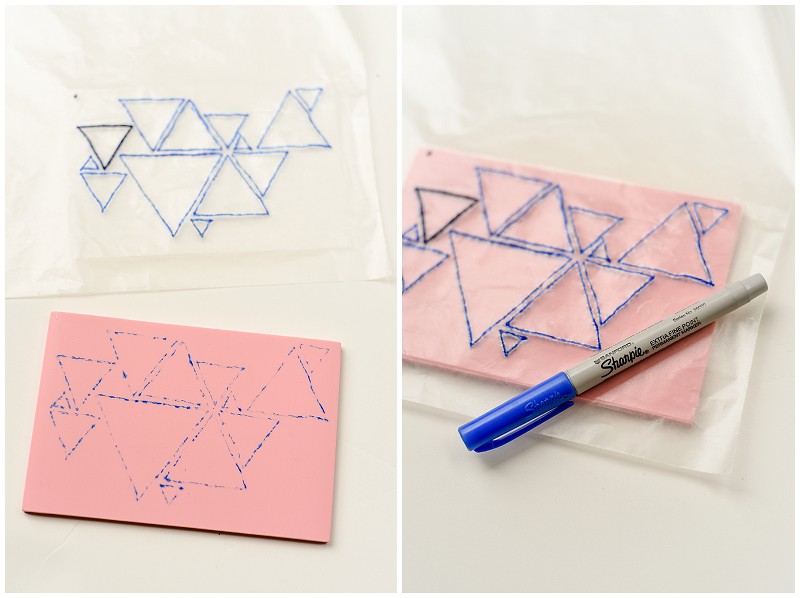
First, pick your image that you want to carve into a stamp. Print the image or draw it straight on to the rubber. I found it was easiest to use a Sharpie and draw firmly over the image so that the sharpie bleeds through the paper, and transfers on to the stamp.
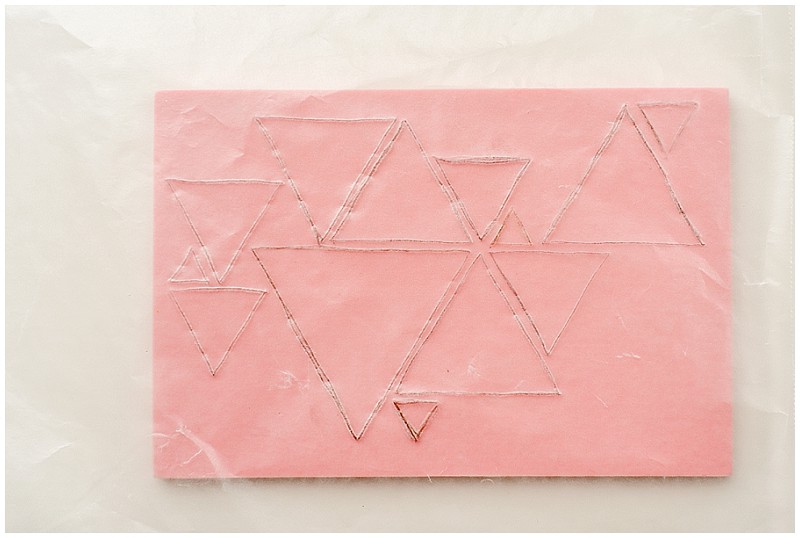
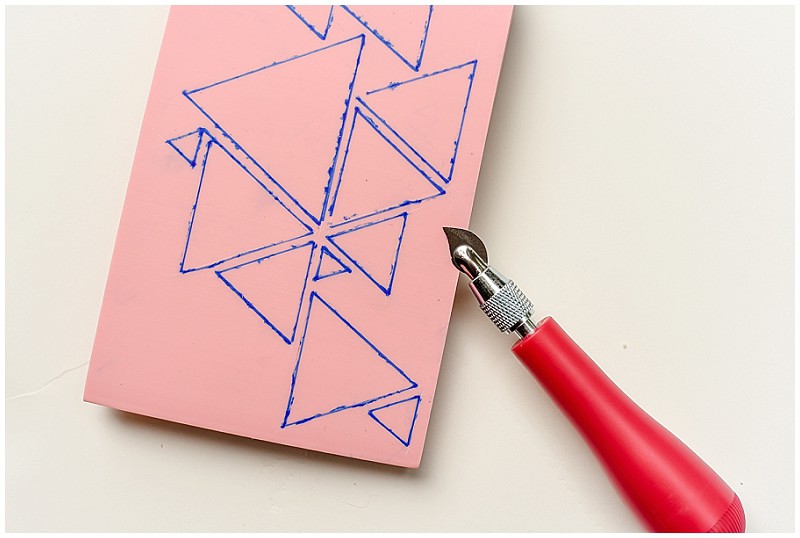
Then I took the flat blade and traced the design. After tracing, I used the smallest blade from the cutter, and dug around the line to start forming the design in the rubber.
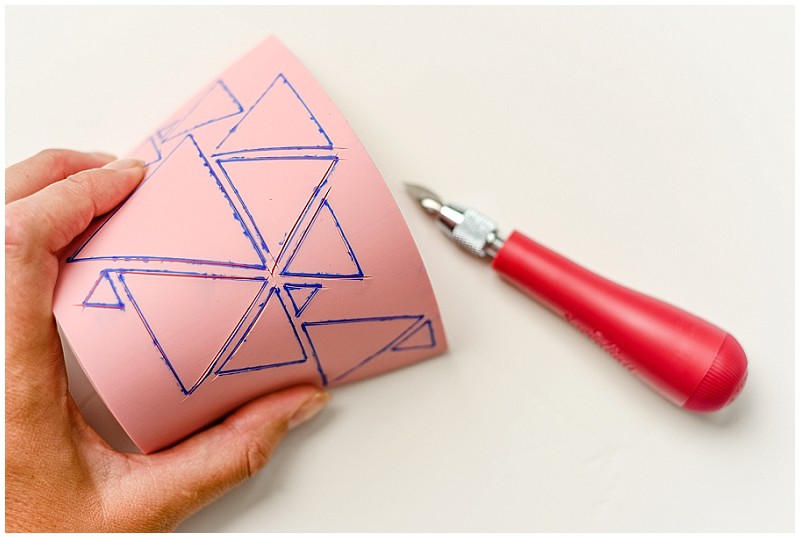
After I had the initial frame of the image done, I started to shave away the extras.
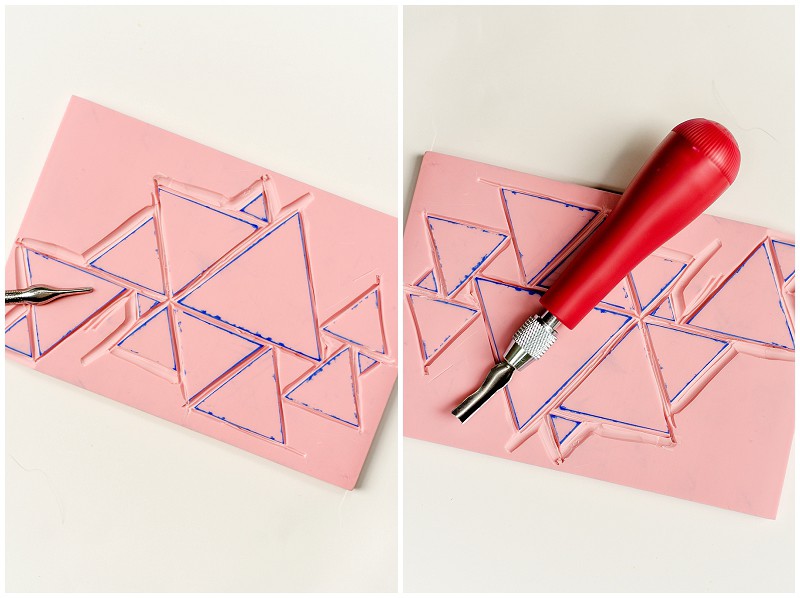
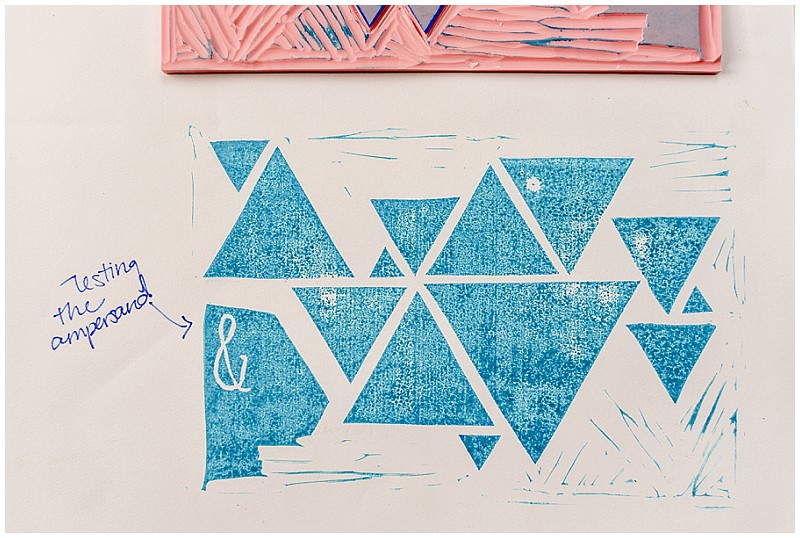
I did a few tests and had to cut away more and more until the negative was flat enough to not pick up any of the ink.
Something got on my rubber that I couldn’t remove so there is a spot on the stamp, so make sure you keep your work area clean. I have no idea what it is that caused the little bump, but it is there and it ain’t goin’ away..

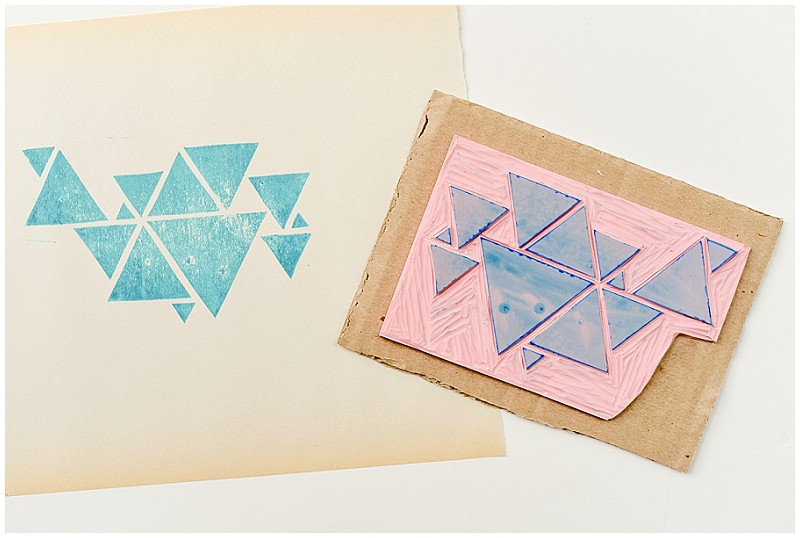
Is it worth the DIY?: Even though it did not come out perfect, it was totally worth the DIY. You can definitely buy personalized stamps on sites like Etsy, but creating it your own isn’t too hard and would be so fun!
Let us know how it goes for you!

we're Michael & Laura


weddings
hey friends,
a husband and wife photography team based in Richmond, Virginia (though we LOVE to travel!). We hope you enjoy browsing some of our most recent work, reading our tips and tricks for brides, and taking a little peek into our life.
+ More about us
engagements
personal
For Brides
more categories
Lifestyle
For Photographers
Seniors
press
play
")


")


Let's be friends
photographers in love, for people in love