
DIY Sprinkles Bar
July 27, 2015

Monday Crafternoons are all about making your DIY project just a little more attainable. I was a serious DIY bride, with a handyman fiancé so we have a ton of projects under our belt. Let us know if there are any projects you want us to add to our series in the comments.
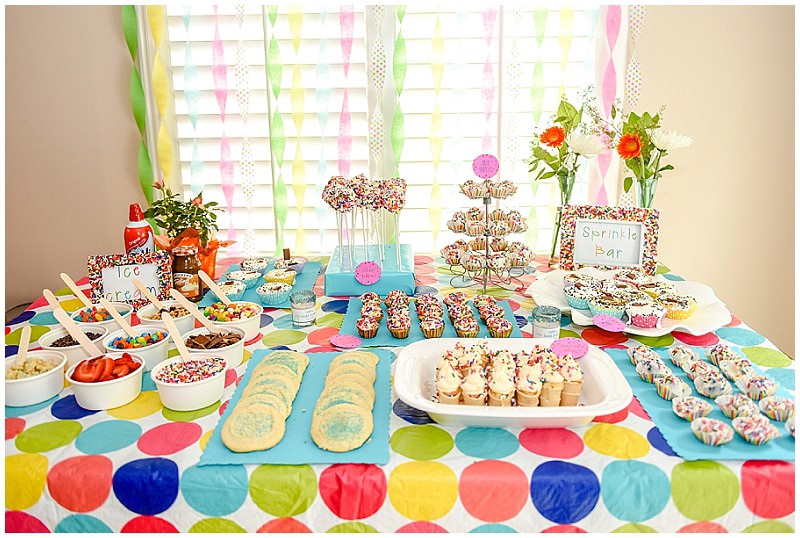
For this week’s crafternoon project I am sharing how I put together Caitlin’s sprinkle bar for her wedding shower. Guests were in awe of this when they came into the room, but really it was EASY… and some of the treats didn’t even turn out how I wanted! Definitely doable regardless of your baking still level.
The project: Sprinkle Bar
The difficulty level: Easy, but time consuming
Time needed to complete: Because I made all these treats on my own, it took quite a few hours. But you could easily divide the tasks between a few bridesmaids and it would come together so simply.
Materials needed:
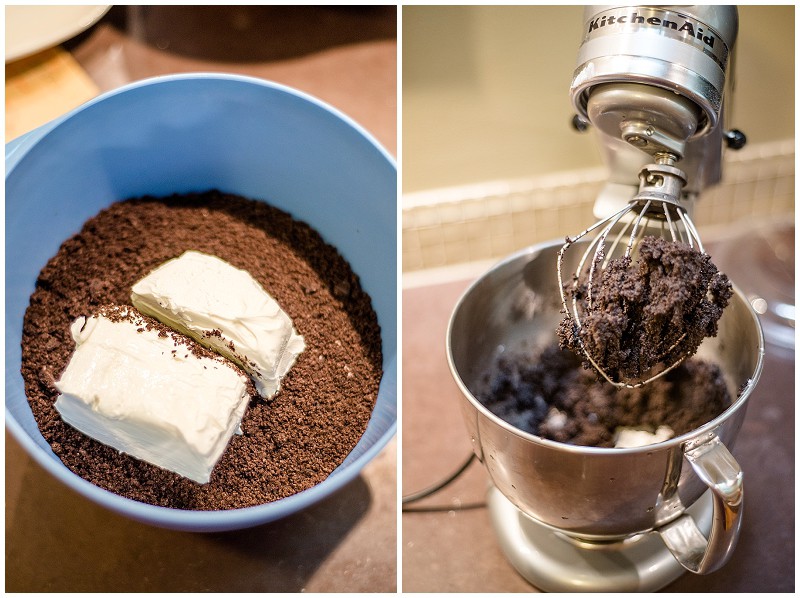
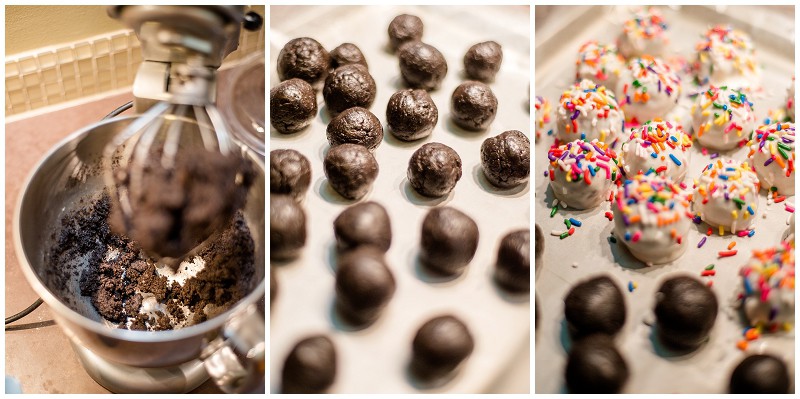
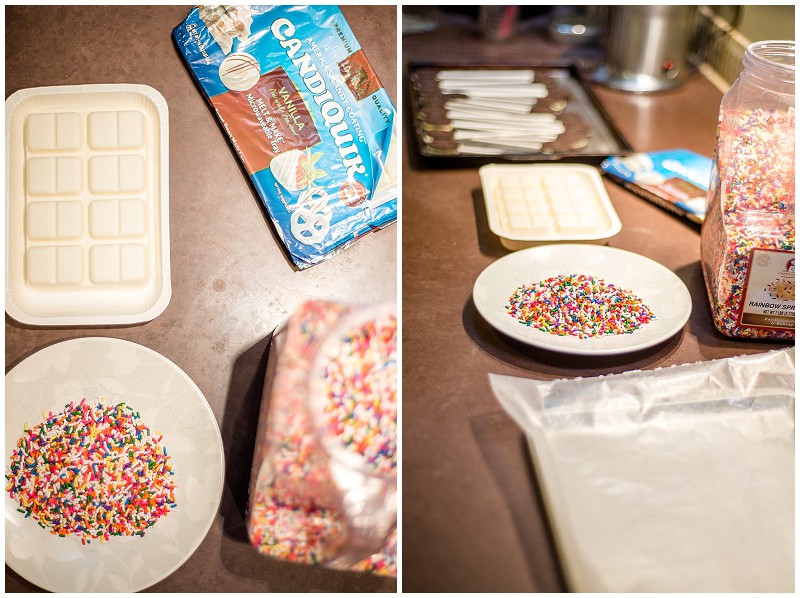
- For Oreo Truffles: One pack of Oreos, 1 8oz container of cream cheese, white chocolate, sprinkles, wax paper, mini cupcake liners
- For Oreo Pops: One pack of Oreos, small amount of icing, candy pop sticks, white chocolate, sprinkles
- For Mini Cupcake Cones: Funfetti box cupcake mix, mini cones, icing, sprinkles
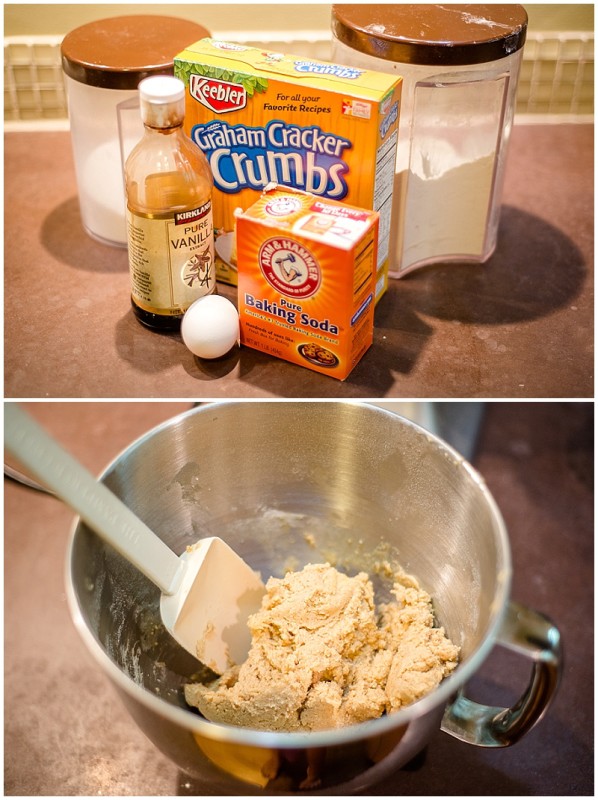
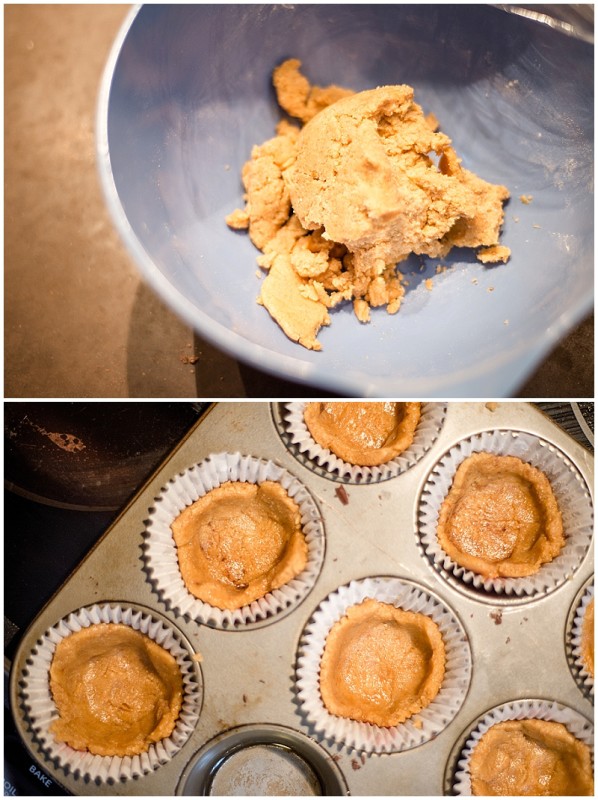
- For Mini S’mores Pie: Graham cracker crust, marshmallow fluff, Hersheys chocolate, sprinkles
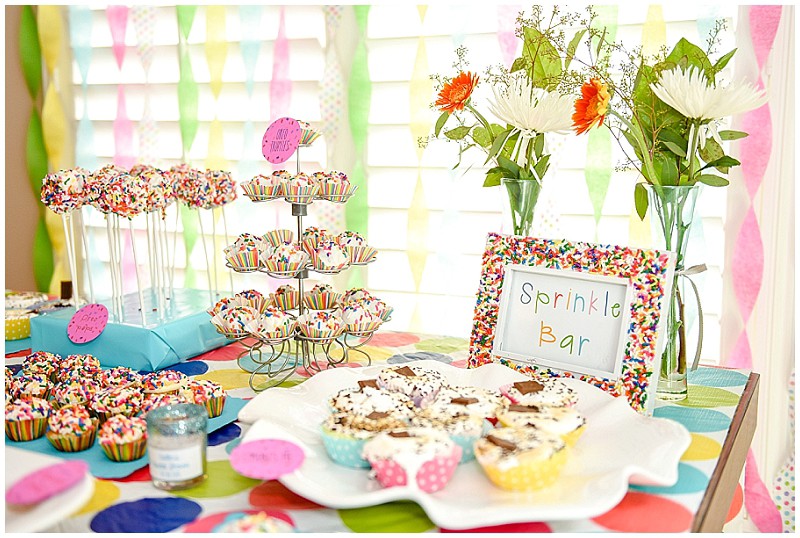
- For decor: Various colored streamers, card stock, Oreo pop “stand” (Styrofoam, box, wrapping paper, tape), sprinkle frame (old frame, glue, sprinkles), tablecloth
The Total Cost: This will obviously depend on what you have on hand.. I bought a HUGE thing of sprinkles ($24) that I used for ALL these projects. And always have an absurd amount of craft things on hand…
- Oreo Truffles: $11
- Oreo Pops: $9
- Mini Cupcake Cones: $6
- Mini S’mores Pie: $8
- Decor: $5
The Step-by-Step instructions:
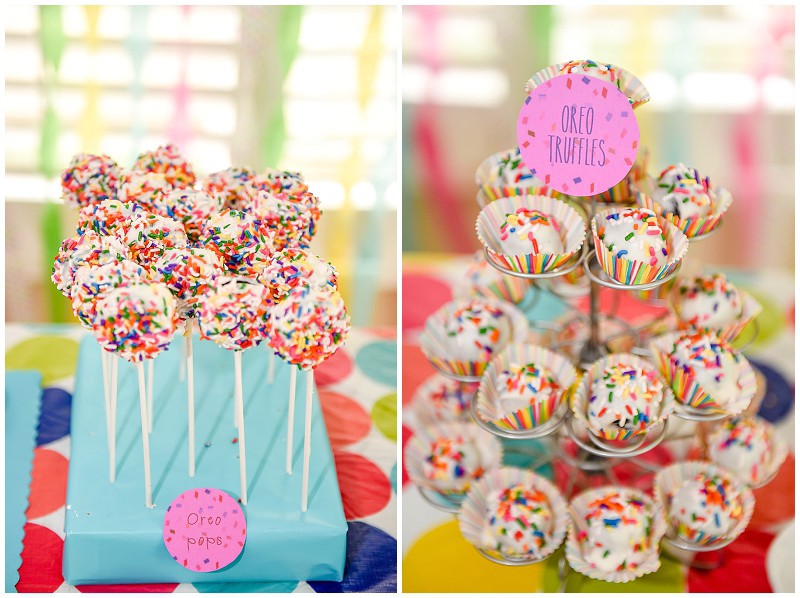
Oreo Truffle Recipe: So delicious, and SO easy. Not time consuming at all, only takes a couple ingredients, and is always a crowd favorite.
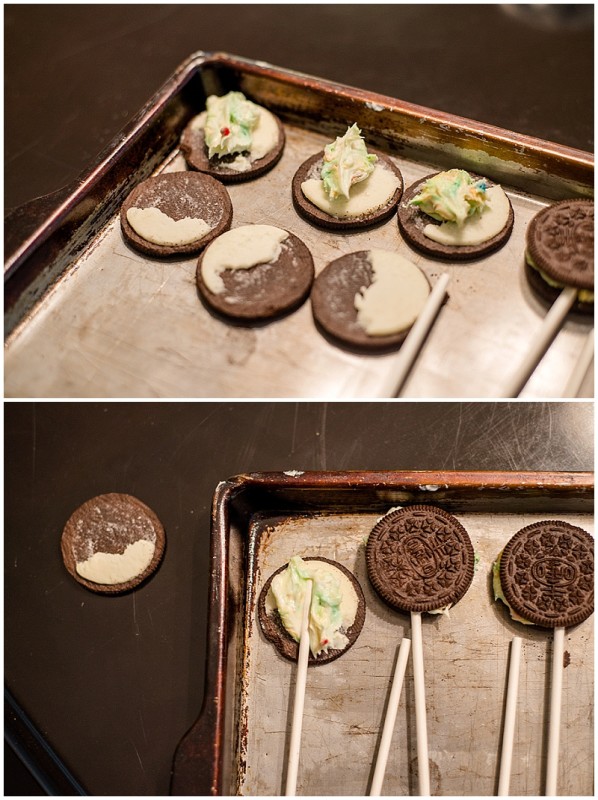
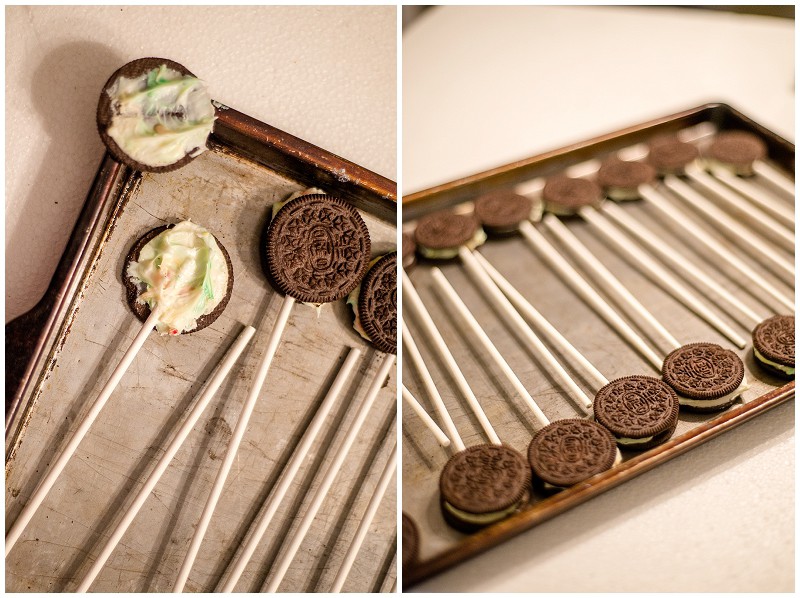
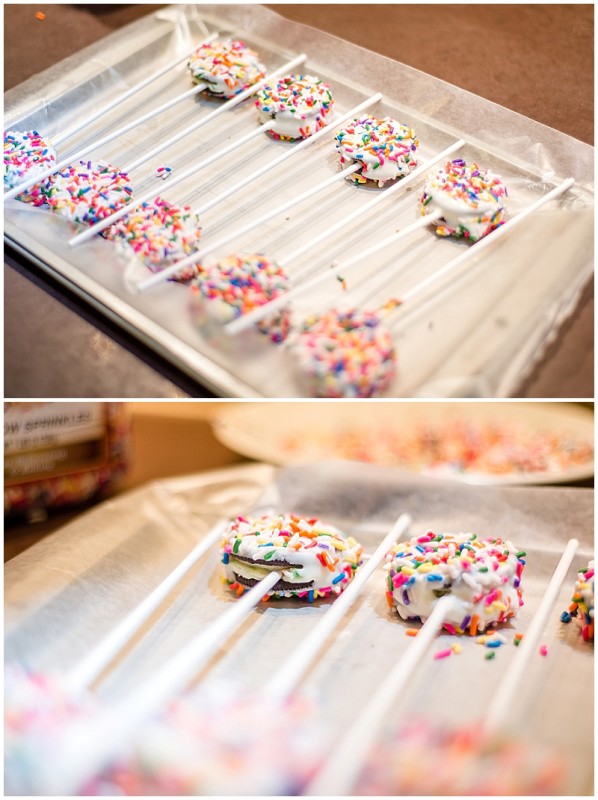
Oreo Pop Recipe: You could probably do without a recipe for this one. Just twist your Oreos apart (it’s fine if you don’t do it perfectly), add some icing to allow your pop sticks to stick (any flavor of icing, I used some left over funfetti frosting that was in my fridge), put the oreo back together (I’d stick it in the fridge/freezer to let the icing harden), melt your chocolate, dip the Oreo to cover, and dip into the sprinkles (do this right away or they won’t stick well) SO SIMPLE!!!

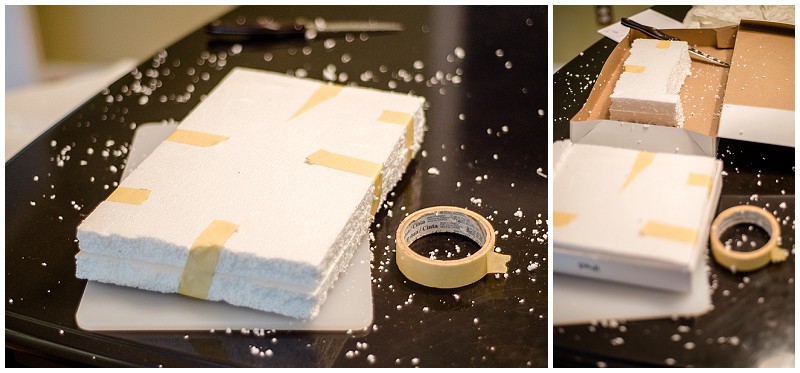
The Oreo Pop stand. This one was SO worth the DIY… and much needed to make the pops really stand out. I took some styrofoam that I had on hand from an old package, cut it to fit into a small, sturdy box. It was REALLY messy, but super easy to vacuum up. Wrapped it in wrapping paper, and pierced holes in the top. *Wait until your party is about to start to add the oreo pops.
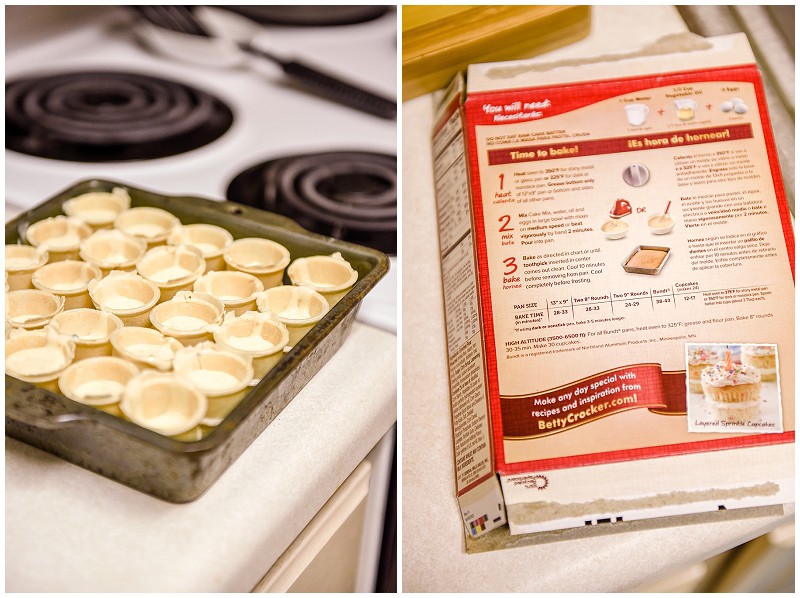
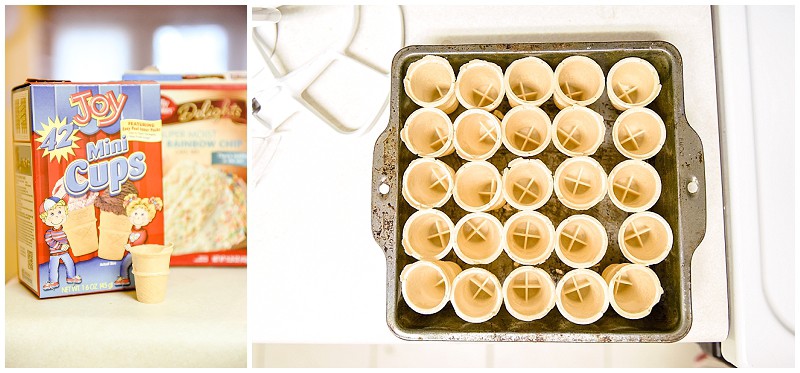
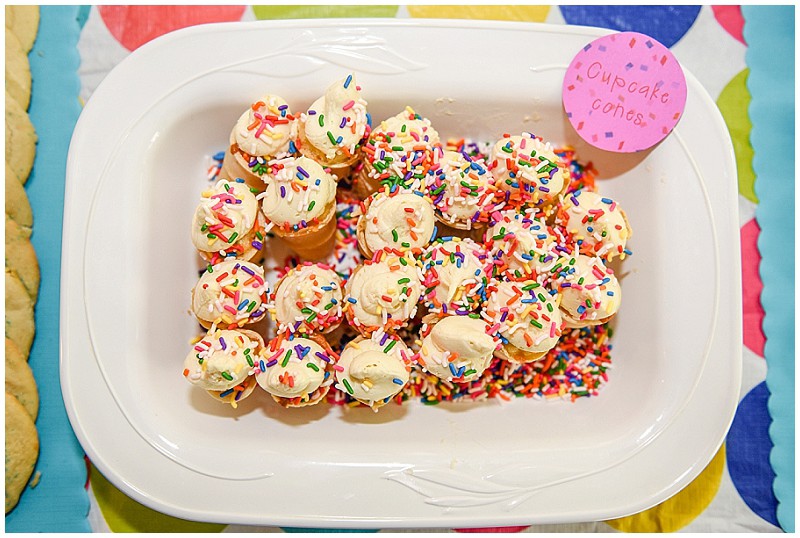
Mini Cupcake Cones: I just followed the instructions on the box to make the batter and filled up the lil’ cones. Baked in the oven at 350 for about 18 minutes.
(If you don’t have a Kitchen Aid Stand Mixer, go get one immediately. I’ll wait.)

These lil’ guys did not do the best job staying standing.. we added some icing to the bottom of the platter and fixed it though, lil’ insider trick for ya 🙂
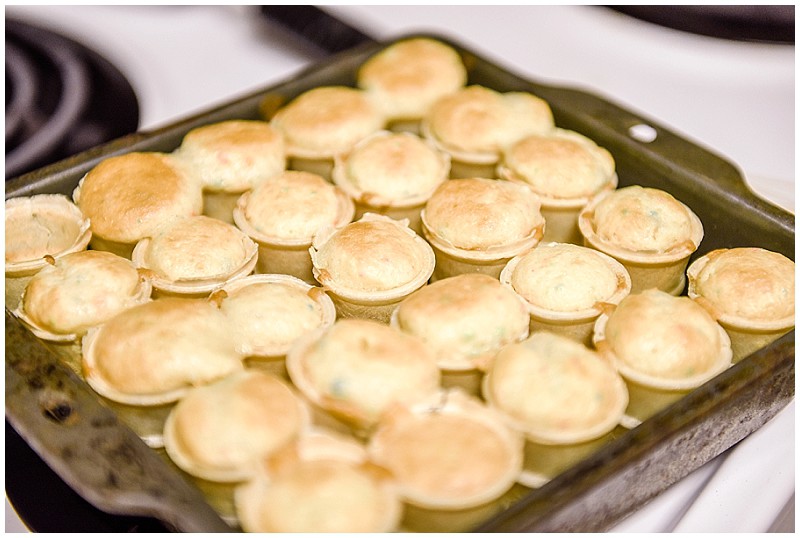
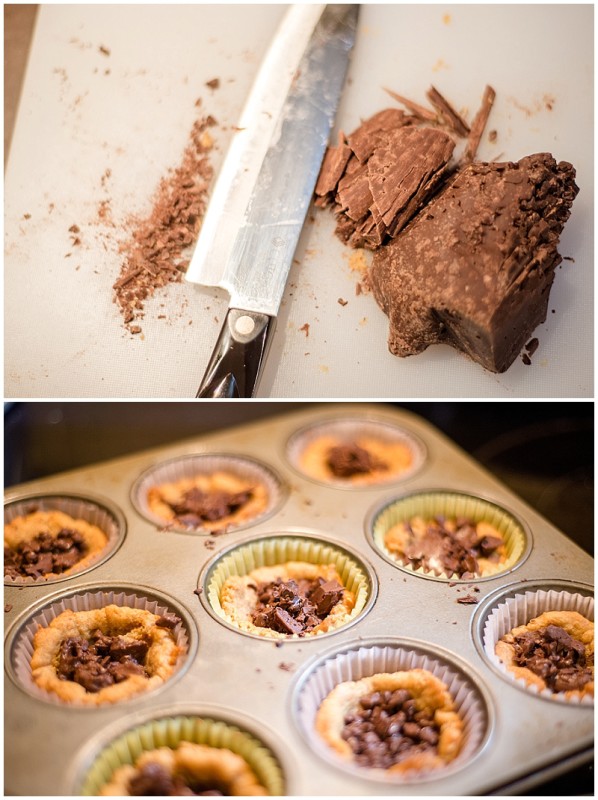
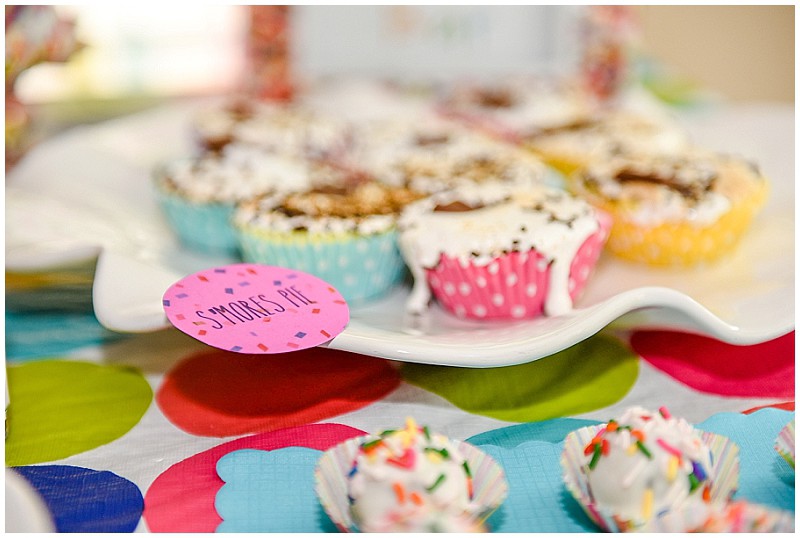
Mini S’mores Pie: Adapted this amazing recipe into miniature versions.. warning.. it was super messy to eat.. but amazingly delicious!
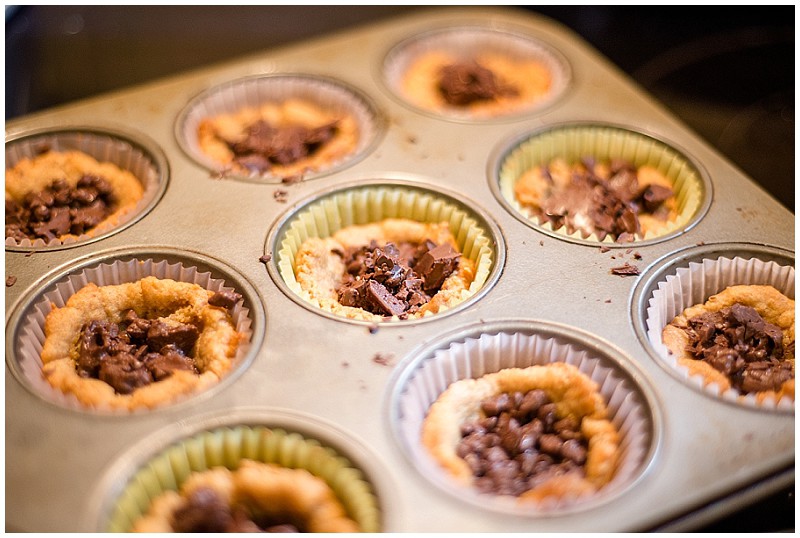
ALL my chocolate chips melted together in the car.. so I had to cut ’em up.. couldn’t tell at all though!
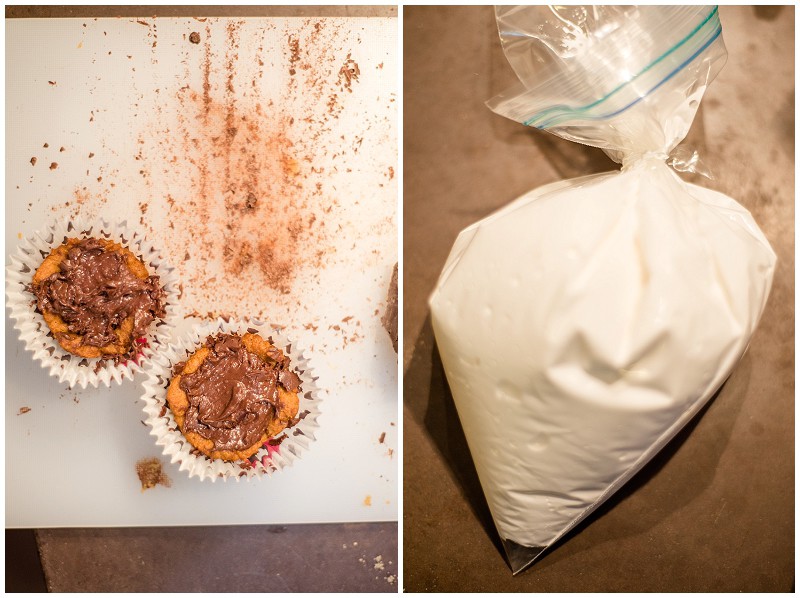
I bagged my marshmellow fluff so I could easily pipe it on before the party.. then add some more sprinkles!
Decor: I loved the streamer banner. As I was setting other things up, I asked Michael to tape streamers in a row to the ceiling and cut it when it touched the floor. Then I came by and twisted them and added a piece of tape at the bottom. Super easy. For the sprinkle frames, I just COVERED an old frame in glue (regular Elmer’s elementary-school-flashbacks glue) and added the sprinkles on time. It was REALLY messy. Tons of the sprinkles from the original creation came off in the process (moving the frames, adding the “sprinkle bar” text paper, setting up), but people loved this and it was super low cost and simple.
Is it worth the DIY?: Uh, YES! It was a hit.. so much more impressive than some store bought goodies thrown on a table.
Let us know how it goes for you in the comments!

we're Michael & Laura


weddings
hey friends,
a husband and wife photography team based in Richmond, Virginia (though we LOVE to travel!). We hope you enjoy browsing some of our most recent work, reading our tips and tricks for brides, and taking a little peek into our life.
+ More about us
engagements
personal
For Brides
more categories
Lifestyle
For Photographers
Seniors
press
play
")


")


Let's be friends
photographers in love, for people in love