
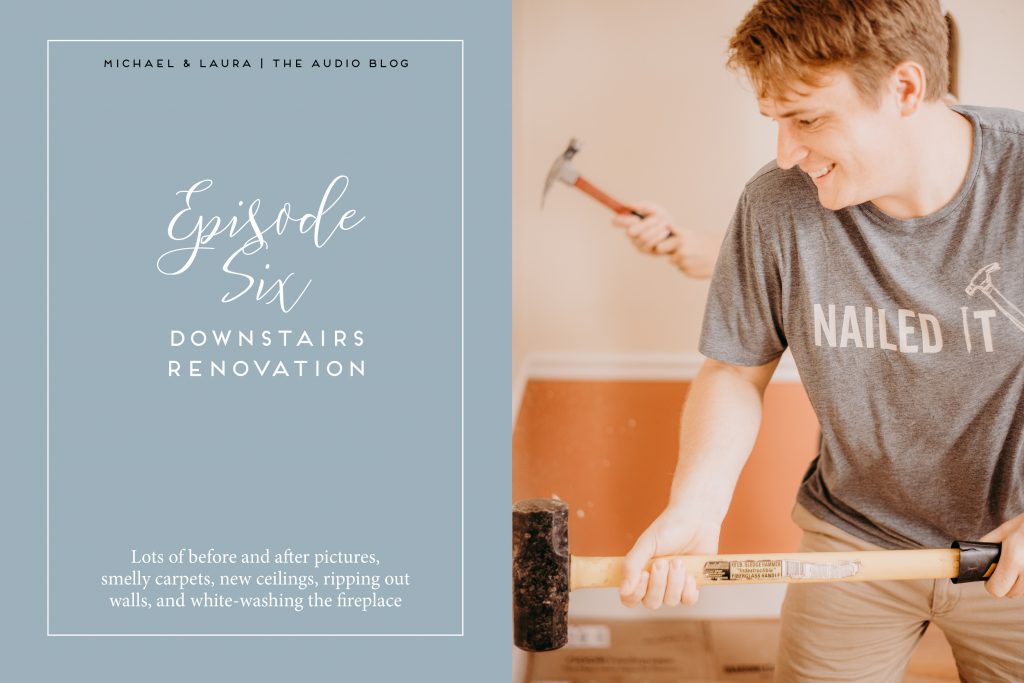
Richmond Renovation – Audio Blog 5
March 21, 2020
Hey, friends. So today, we are going to continue our series on talking about our house, specifically our Richmond renovation in Bellevue.
Okay, so anyways, this is our part two, we already talked about the buying process. So if you didn’t listen to that one, you can go back and hear how we decided to move to Richmond and how we went about buying our house. But today, we’re gonna talk about starting our innovation.
Family Help – Richmond Renovation
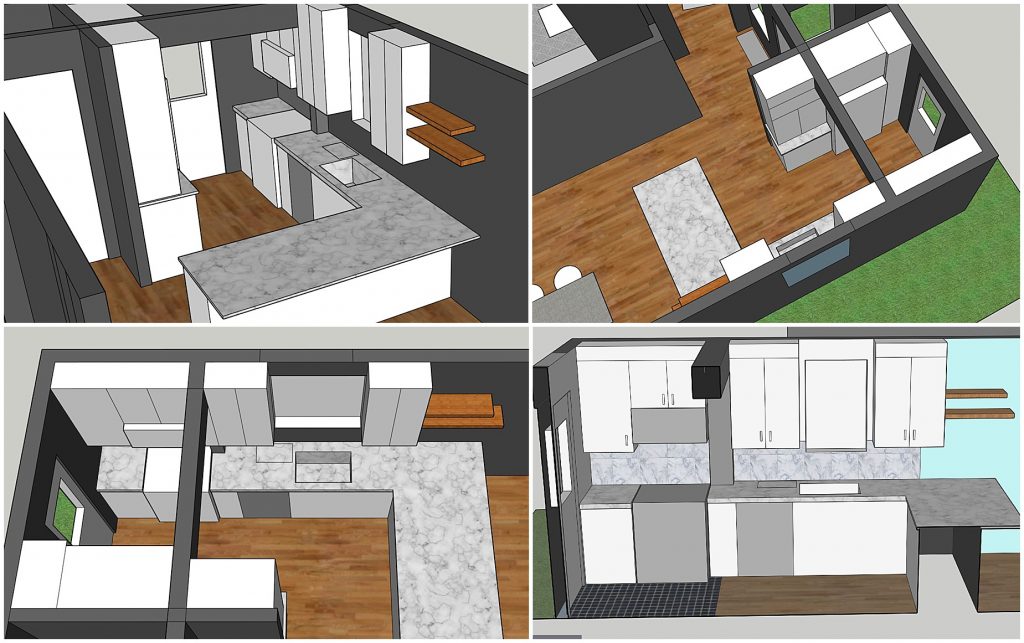
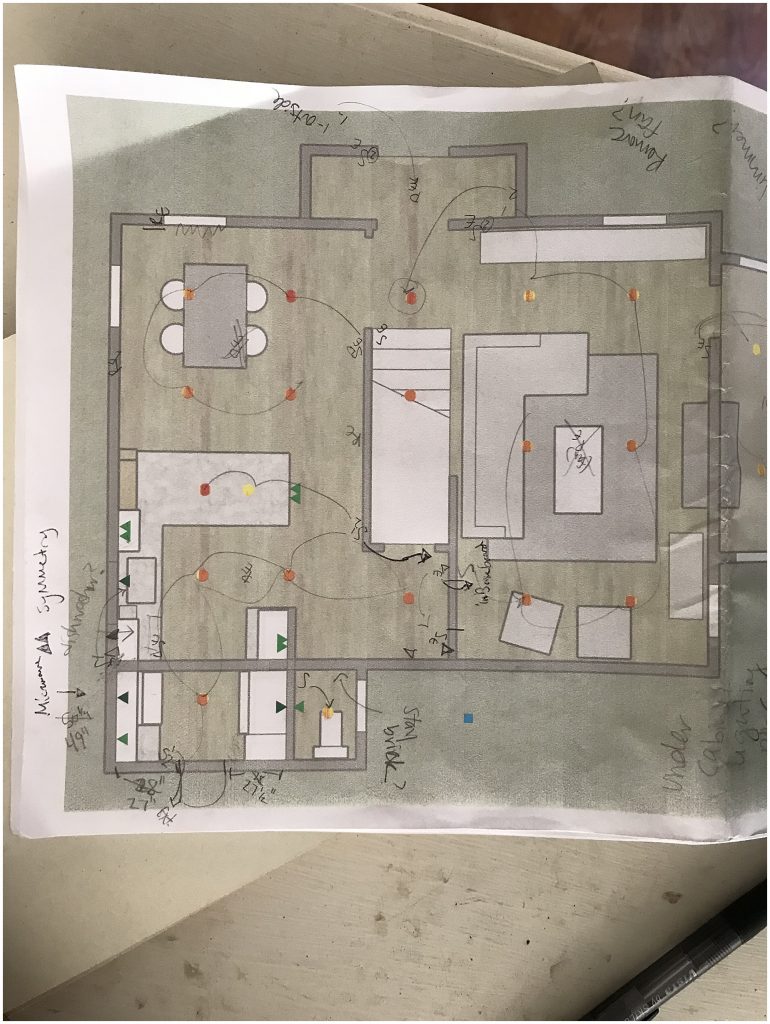
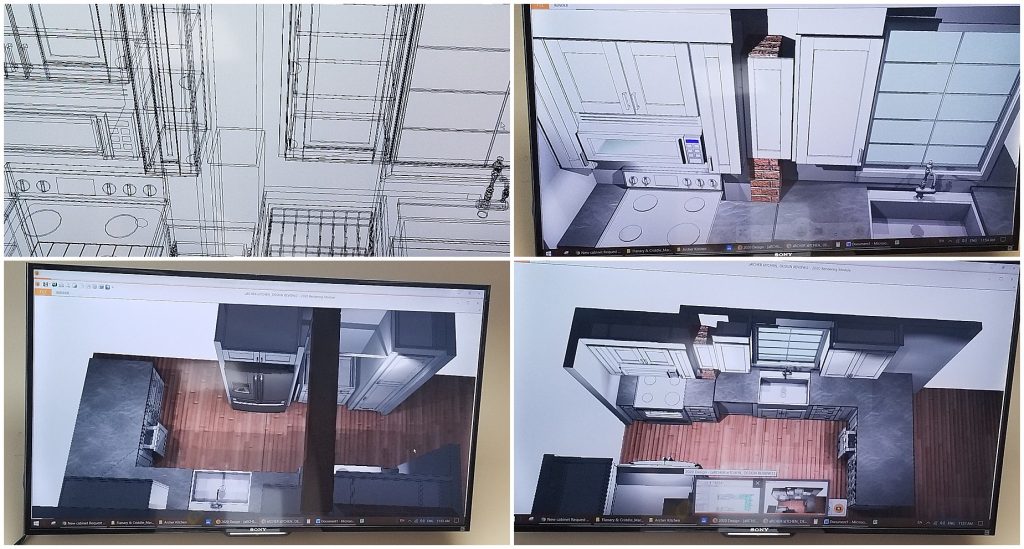
We were already off to a really great start because my sister has a background in interior design and my dad is an architect. So my sister Kelly, who lives in Boston, we sent her a video, of just the tour of walking through the house initially, and she took that video and within an hour, she had done a full mock-up of what the house could look like. So it was a true HGTV walk-through of where we should take down walls, where counter should go, and even where furniture should be.
And she really gave us a good visual of the potential of what our house could be. She actually started offering this as a service. I’ll link her Instagram, if you have bought a house and you need help visualizing what it should look like. She’s fantastic at it. So she was an enormous help and then my dad who’s an architect came over, and he walked through and gave us more realistic structural things that we should be looking at doing. So the big tip, or suggestion, that he gave us was to add a really small extension to the back of our house.
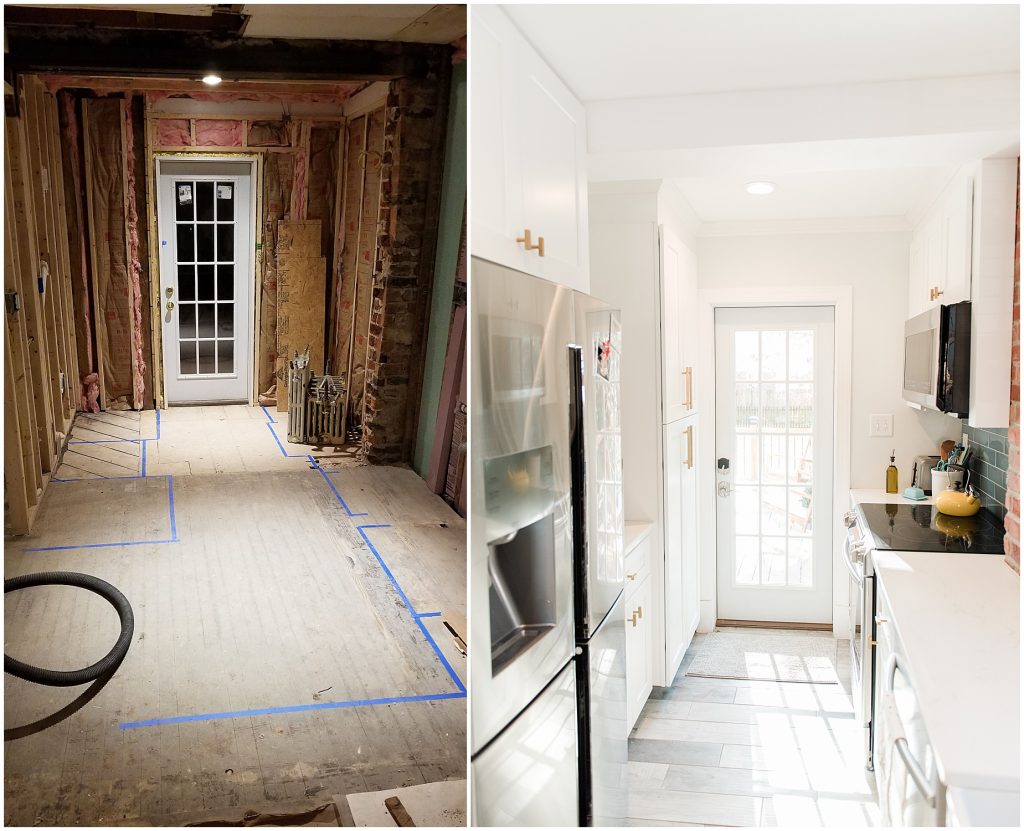
We had a teeny little porch and he suggested framing it in because it already had the roof and had already had the foundation. We ended up adding on to our kitchen by just framing that out.
DIY – Richmond Renovation
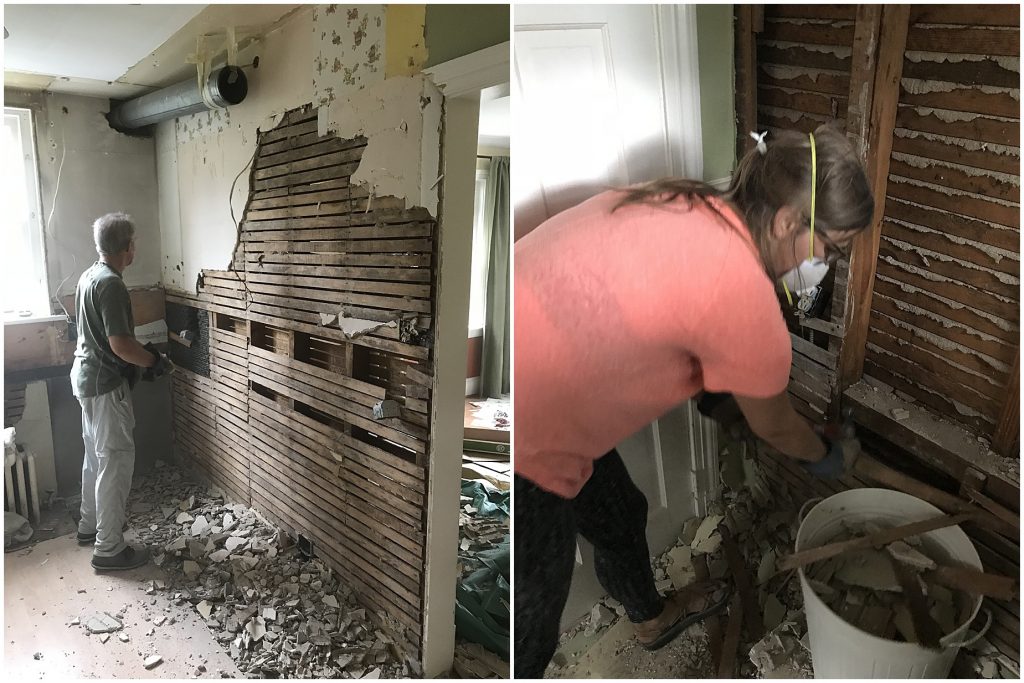
If you know anything about us, we are very much DIY people. So doing as much of the work and as much of the demo as possible is that way decided to go. We found our contractor, David, he’s great with Richmond re-builders. We’ve recommended him a bunch. We know at least two people who are working with him. He’s great, because he kinda let’s you do as much that you wanna do as possible and then works with you on the rest of it. I highly recommend him. We decided to do as much of the demo as possible. That started with the kitchen where the addition would be.
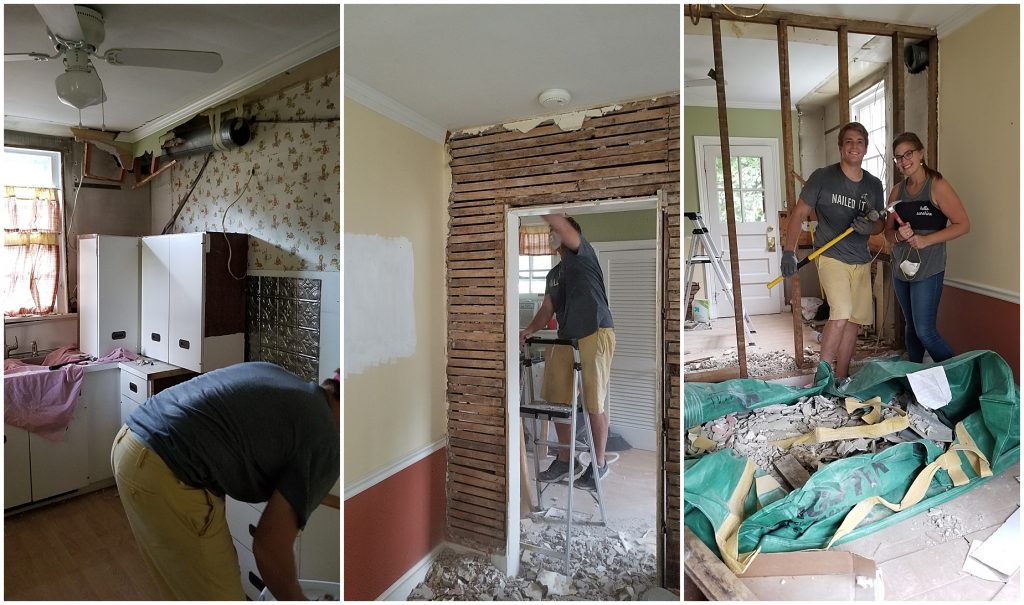
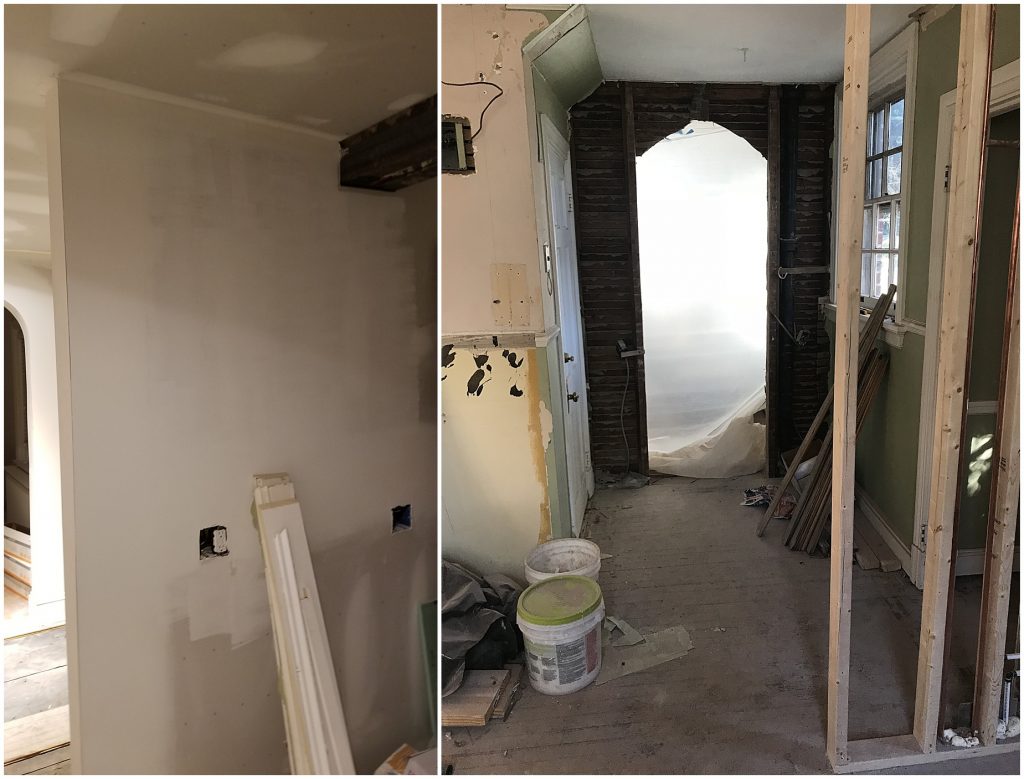
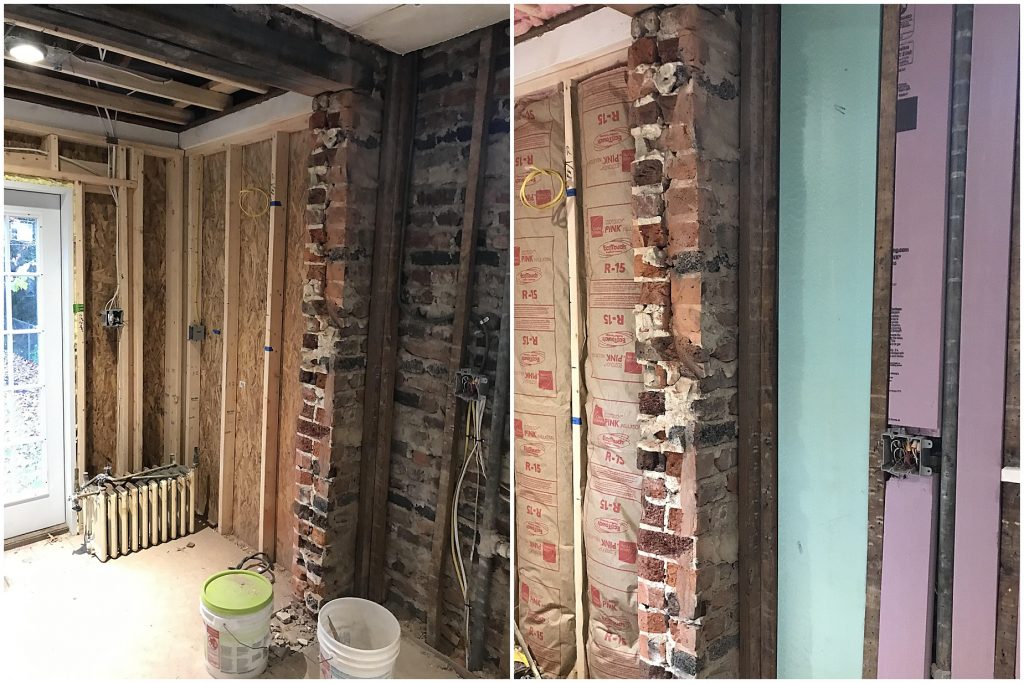
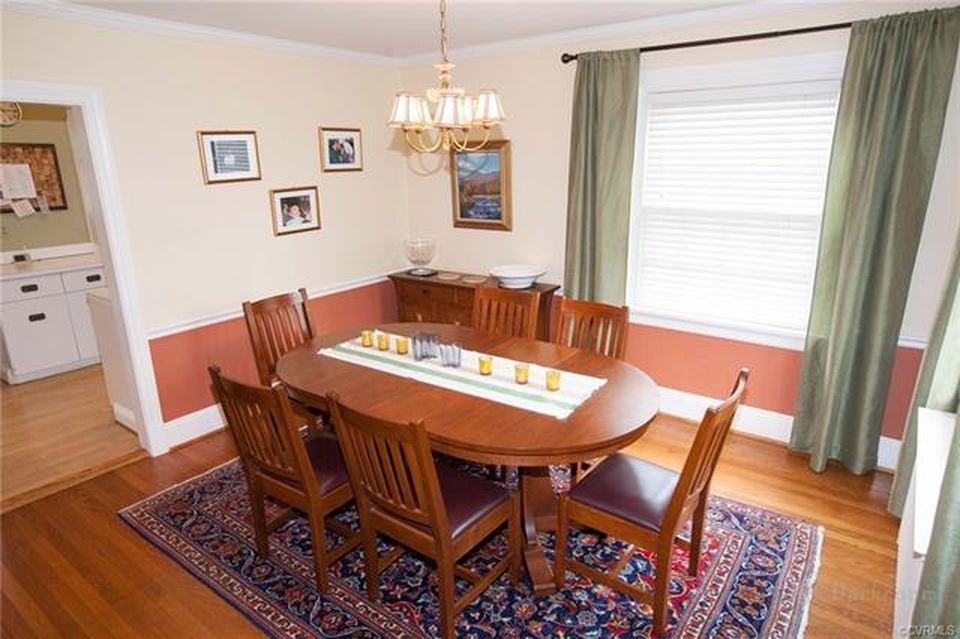
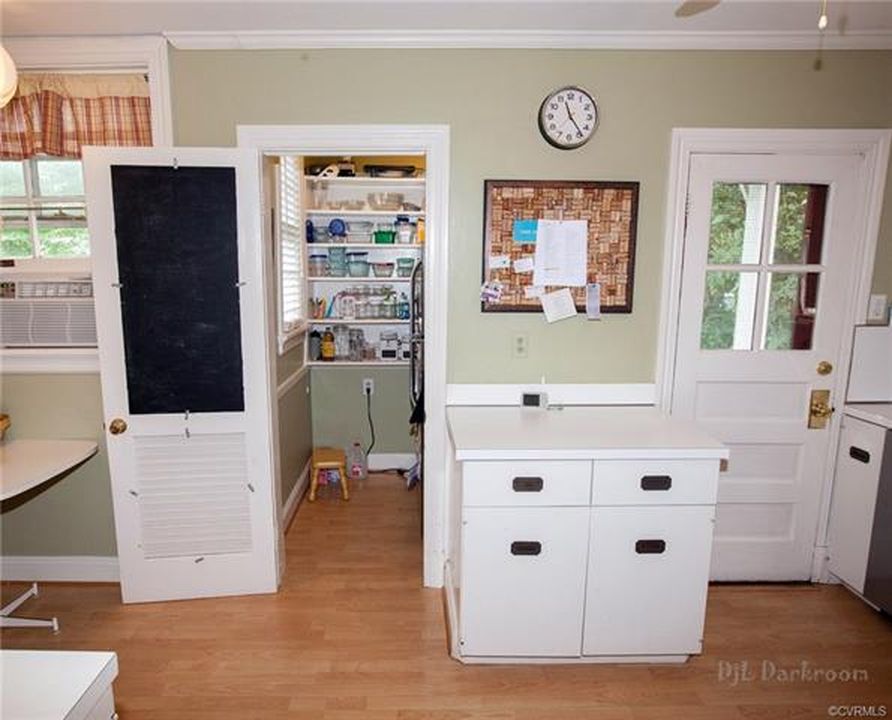
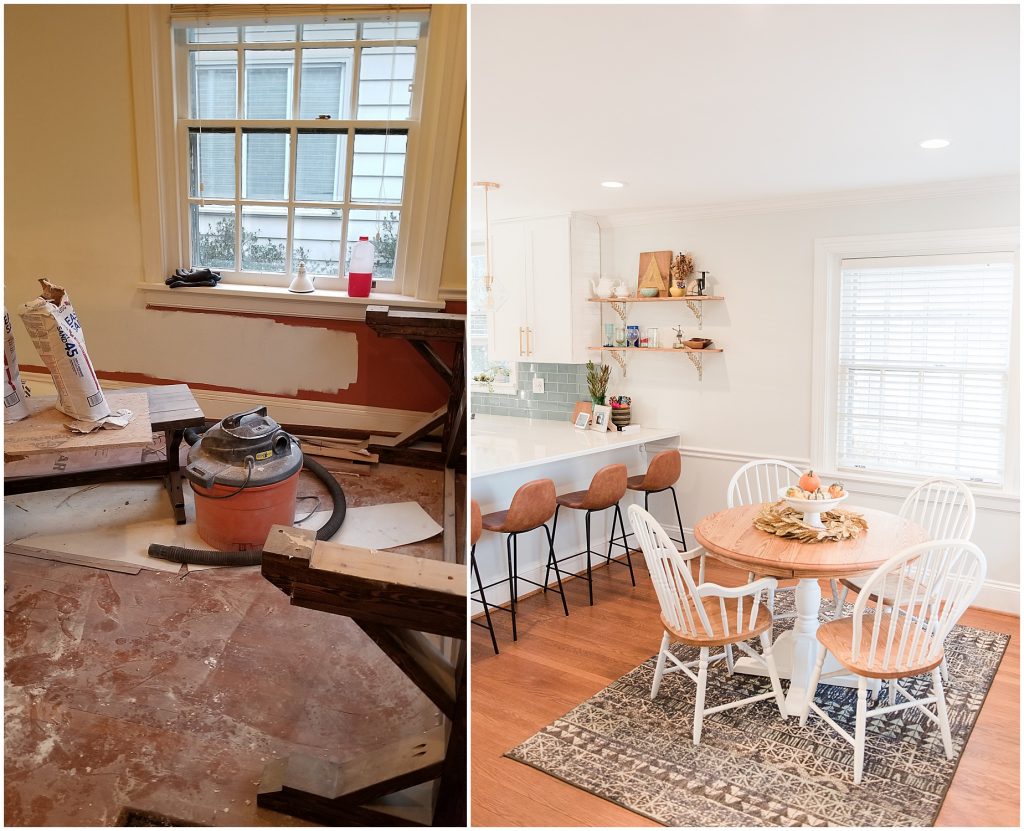
We totally gutted the kitchen. We took down the wall separating the dining room and the kitchen. Then we gutted what was the pantry, which used to house the refrigerator. It was like a big pantry.; just a weird layout. Then we gutted all of the walls.
Because the houses from the 1930s, the walls are all plaster and lath, which is basically a disaster. Real think plaster and a bunch of wood behing it. So it takes twice as long to take down. And as much fun as we did have, the amount of dust and debris, that’s built up from that was just unbelief. We still get debris and dust in the air from that.
It took a long time and a lot of cleaning to get rid of it. Apparently it’s still not gone.

Watch the Demo on Instagram – Richmond Renovation
We have a huge Highlights on our Instagram of your interested in seeing Michael smash some things.
And Laura smash some things.
It is there if you want to see it.
We filled, gosh, two-and-a-half bagsters. A big tarp dumpster that you can buy from Home Depot or Lowes. They are super helpful if you don’t know what they are and you’re doing a renovation, get one of those.
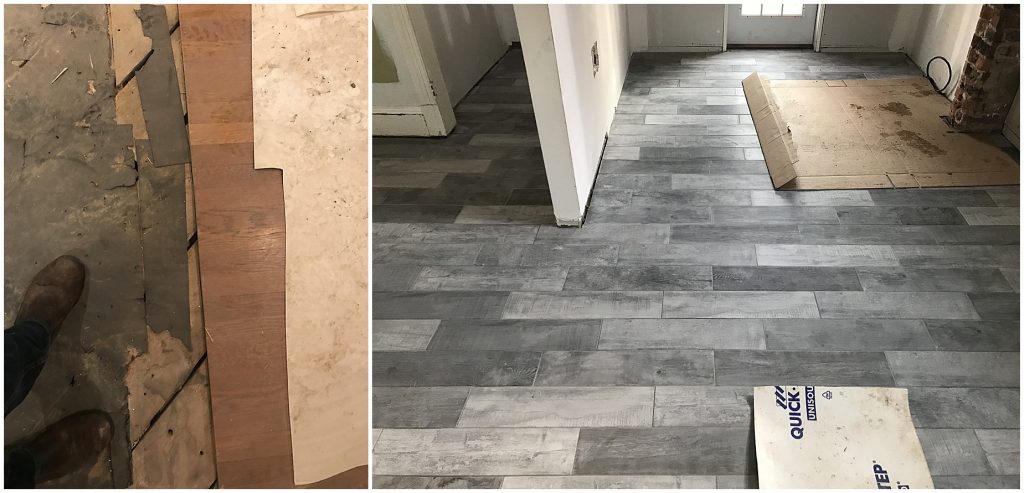
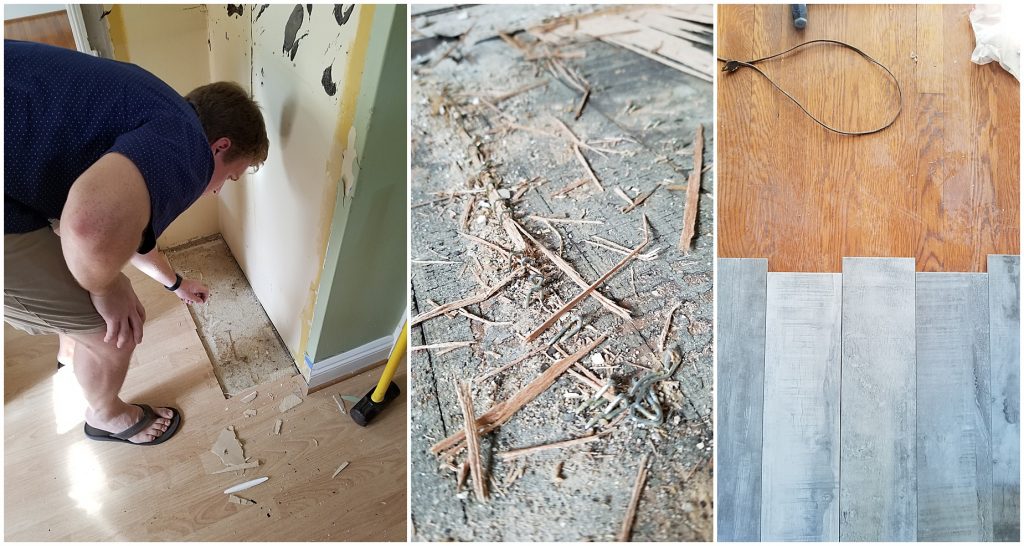
It was crazy the amount of debris and things that we were throwing away. And we tried to save as much as we could. We saved to the top layer of flooring, the laminate. And ended up replacing it in the basement. All of the old kitchen cabinets we saved and put them in the shed, for Michael to be able to use, for all these tools and stuff. So we actually saved a ton of the debris. We saved almost all of the lath to be able to do projects. We’ll show you some of that stuff that we re-purposed. We tried to really not dispose of a lot but it ended up being so much!
A lot of plaster. And it’s insanely heavy it’s so crazy.

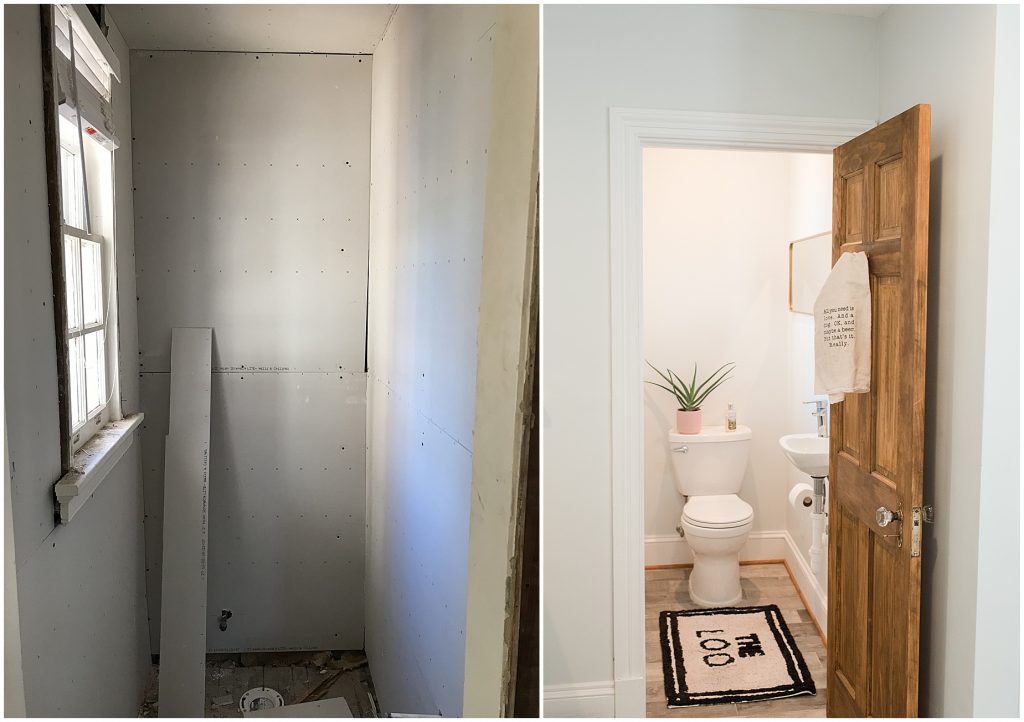
Adding a half bath – Richmond Renovation
Then where the pantry was we put in a small half bathroom. Which I think was the biggest decision. Because not having to go upstairs or downstairs, to the basement toilet (which is not in great condition) is a massive help.
It’s crazy how many Richmond houses that we toured didn’t have a bathroom on the main floor. So putting in a half bath was huge. Kelly helped us figure out how it was not awkward to have a bathroom right in your kitchen essentially. Because of where that pantry was, we ended up doing a little wall to separate those spaces which I think worked out really well too.
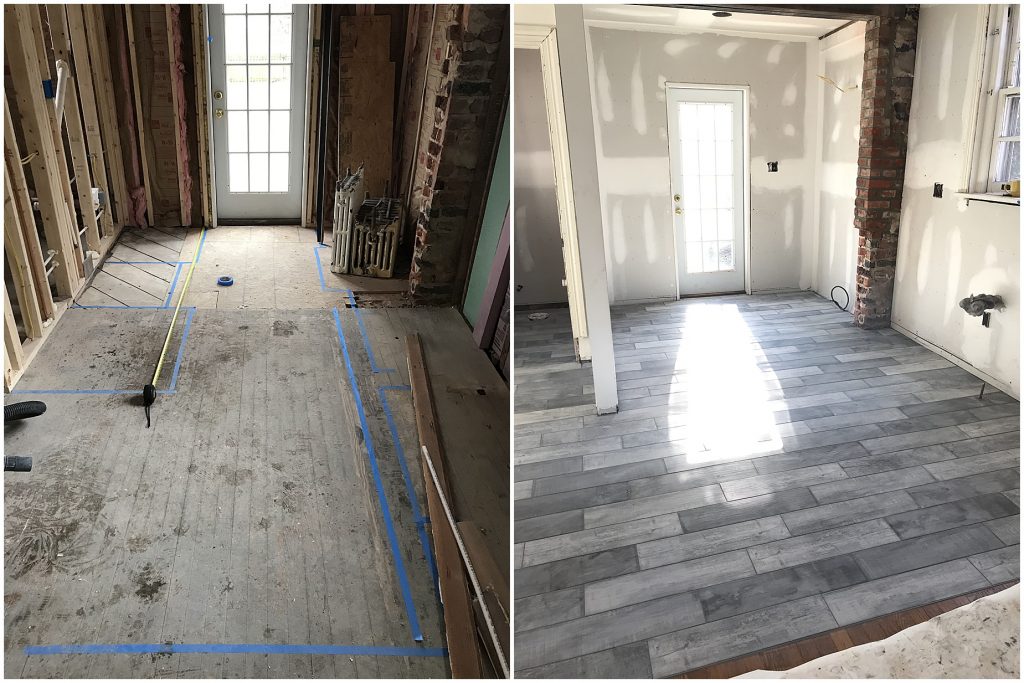
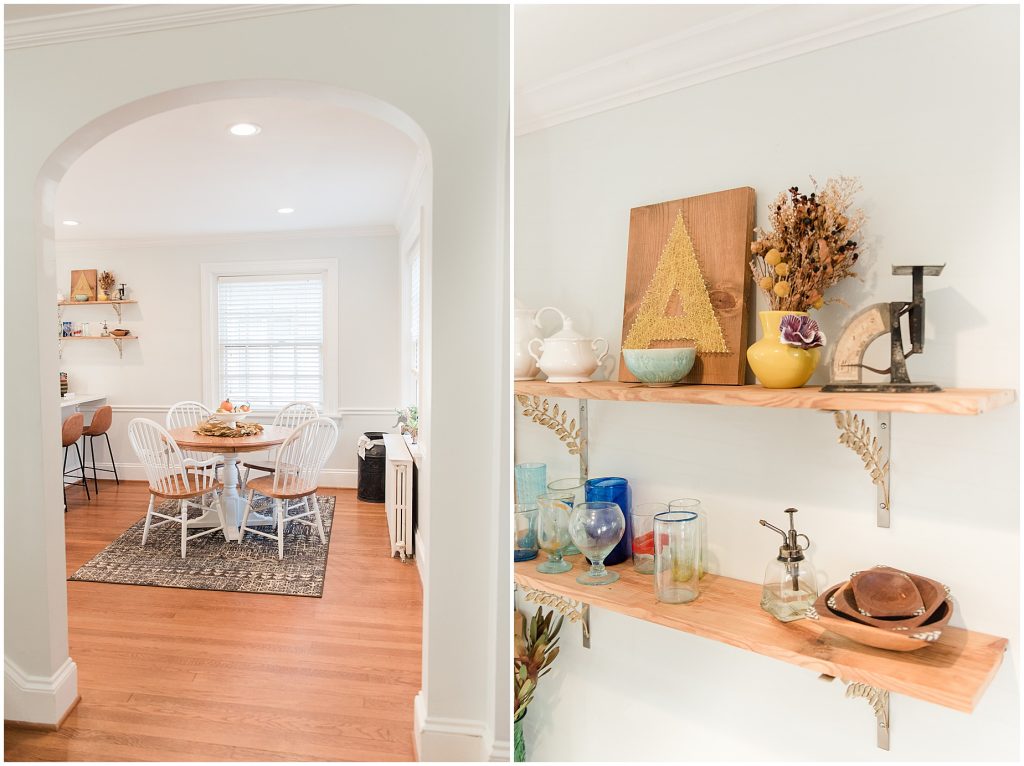
Opening the floor plan – Richmond Renovation
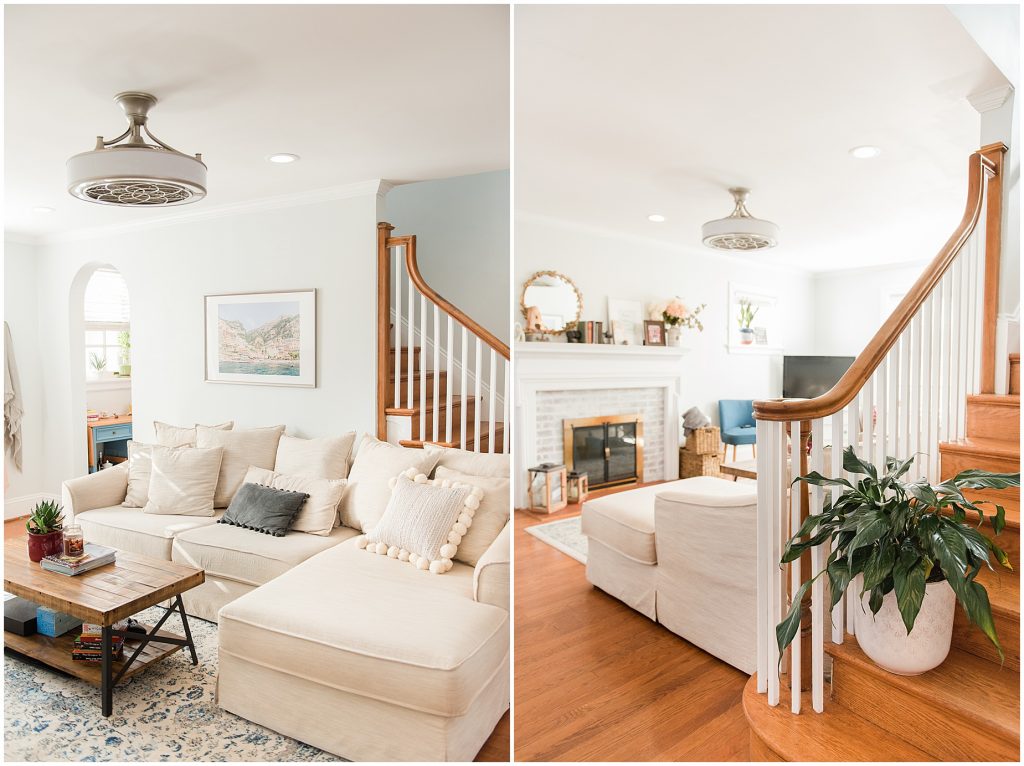
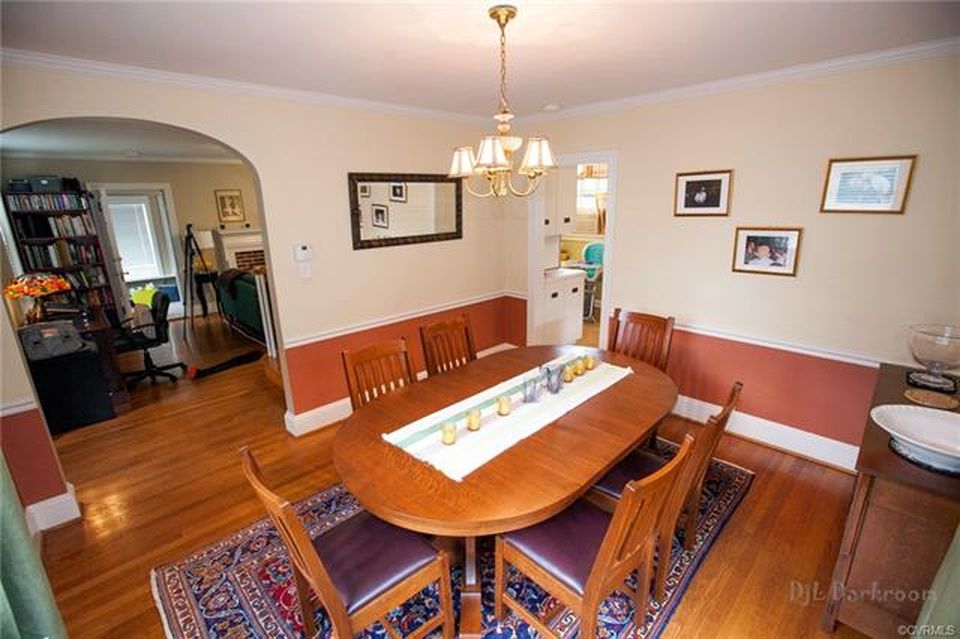
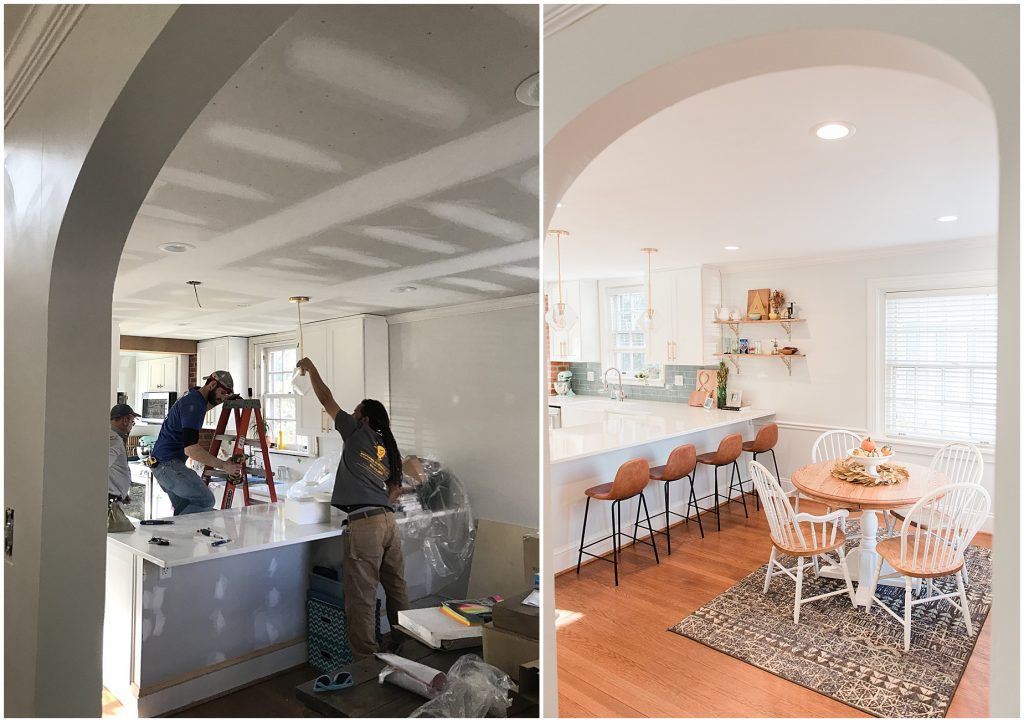
Then right next to that we also took down the wall that was dividing the living room and the kitchen on the back side of the house. We took that down and added the archway to match the rest of the house. You’ll see in the pictures, a lot of our walkways into different rooms on the first floor all have an arch.
That really opened up the flow of the house.
You can run in circles. Tusker loves it.
It makes it really nice. It’s not a huge open floor plan, but it is nice that you can kind of see into the living room now from the kitchen.

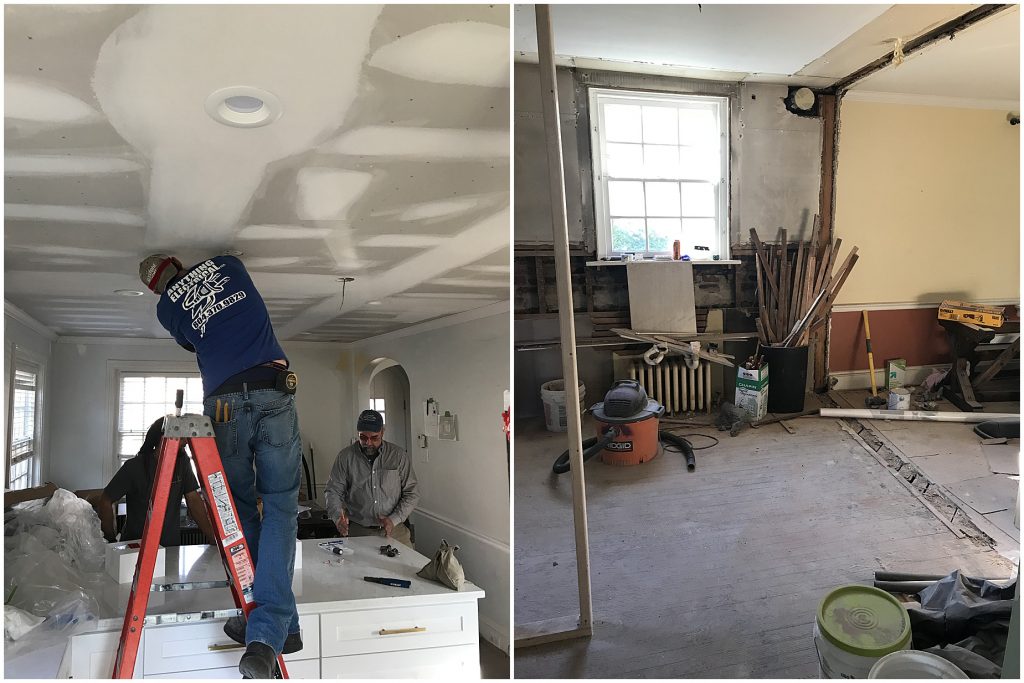
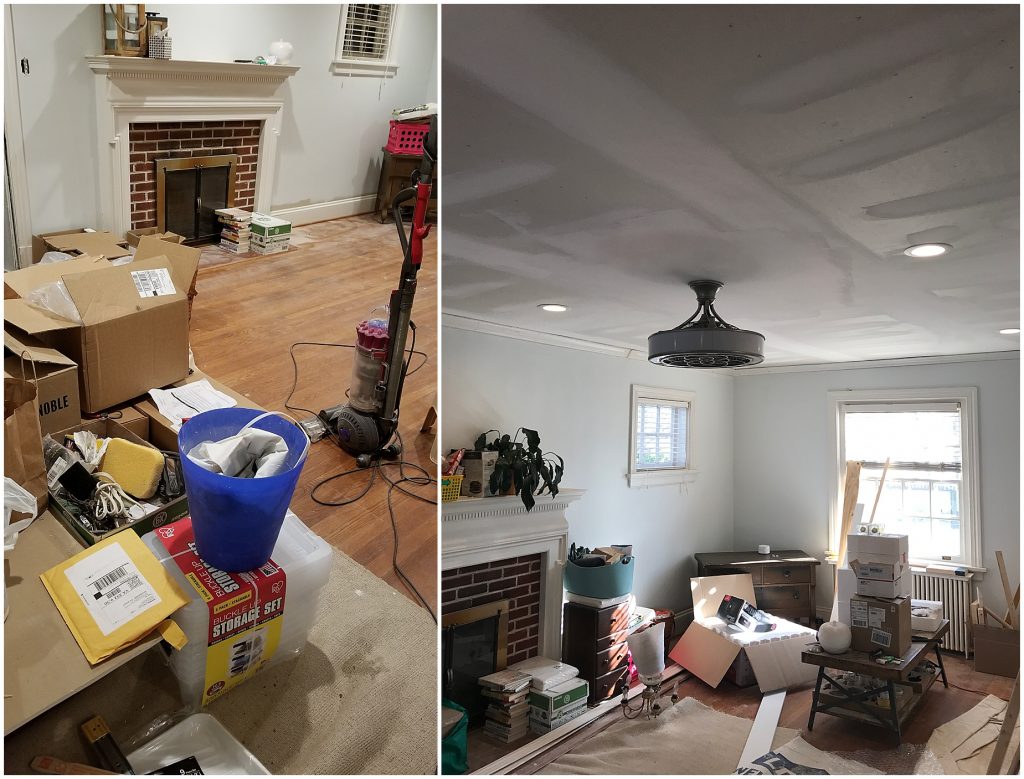
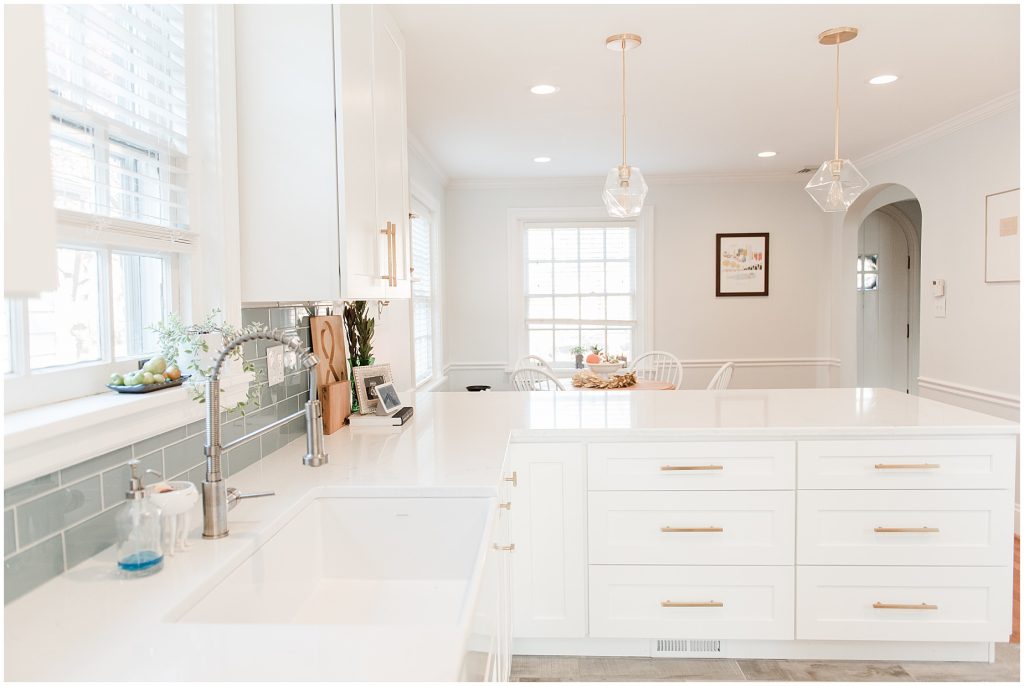
Can lights – Richmond Renovation
We also did all new ceilings, in our whole first floor, which was huge. Michael was dead set on having can lights. As many canned lights as possible.
They are awesome.
Which we now have in all of our downstairs and because of the plaster it was just impossible to do. So they ended up just re-sheet rocking the whole downstairs, which actually made it look like a brand new house. Because of “the character” we called it, that showed up on this ceiling. It’s all new and flat now, which was a really good decision.
We lost a quarter inch on the ceiling. But we had pretty good high ceilings in the first place, so I think that was a really good idea.
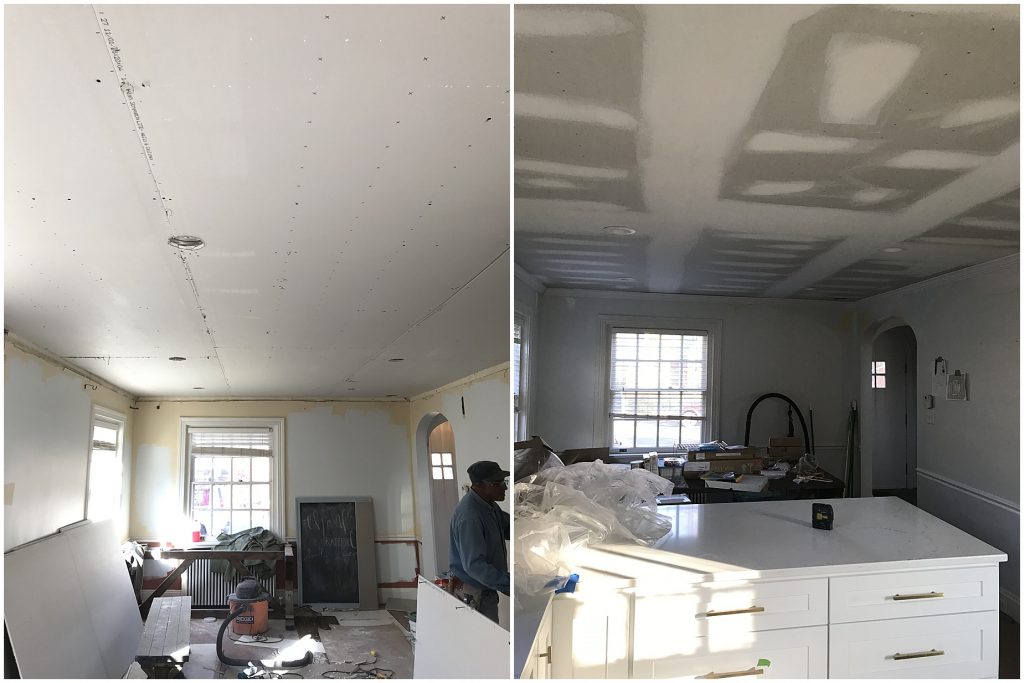
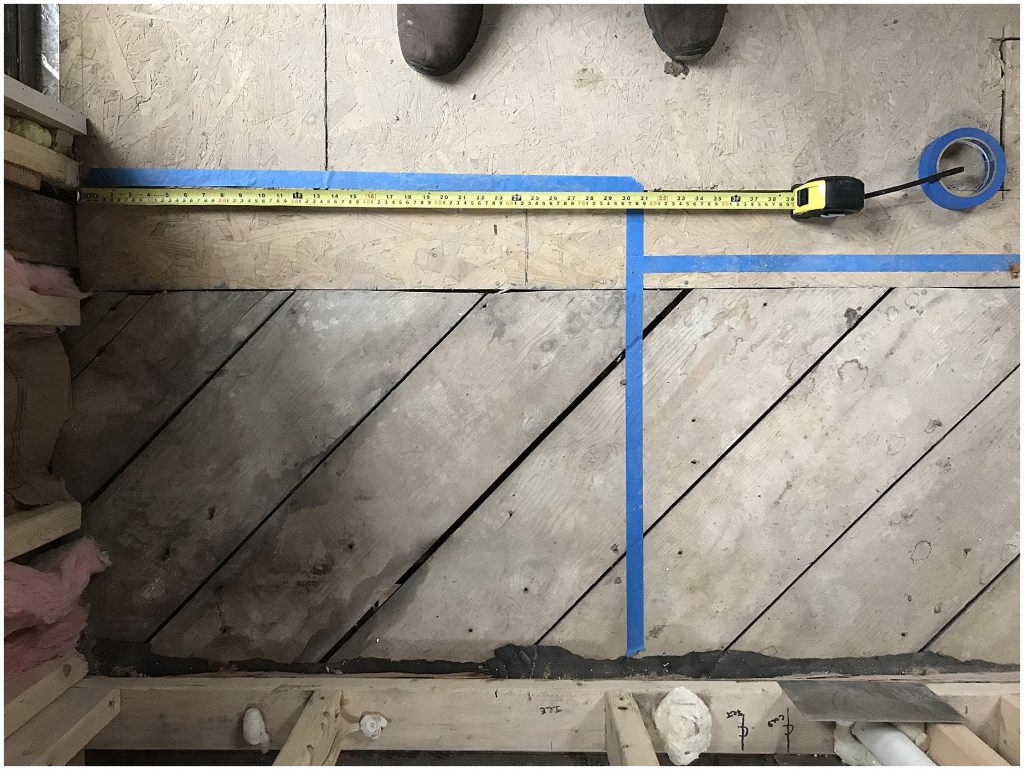
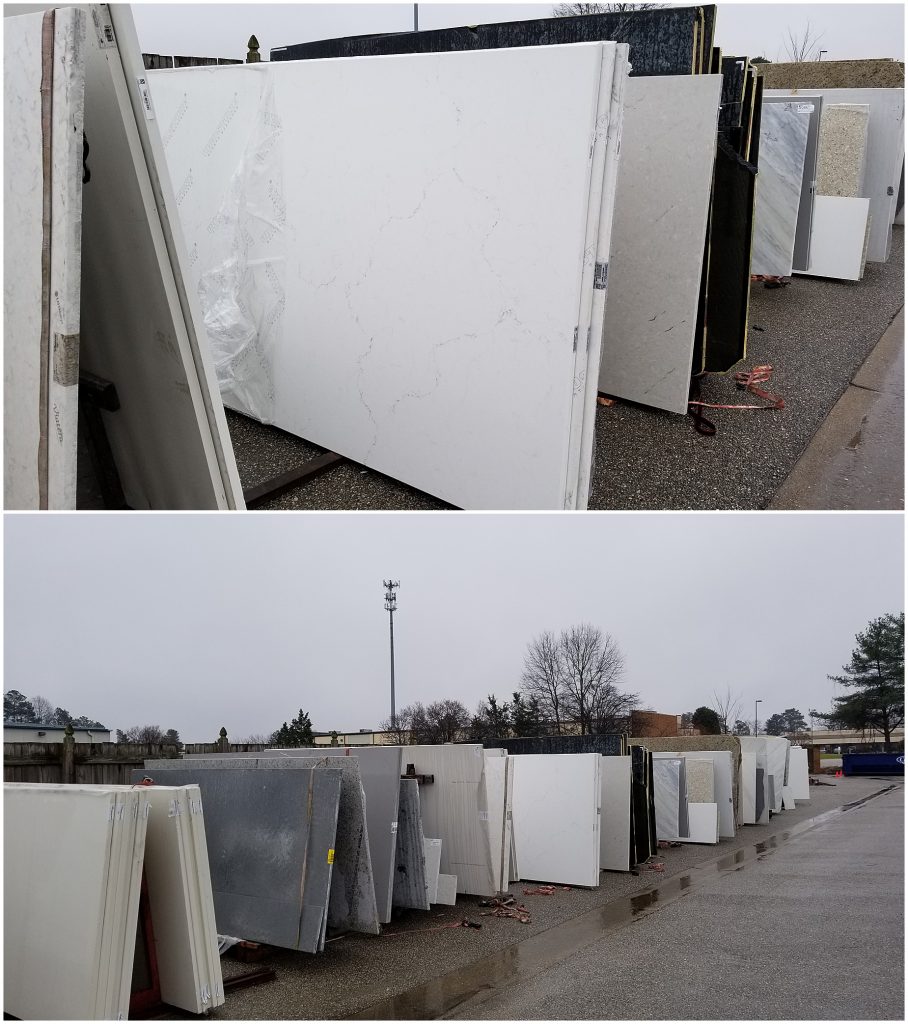
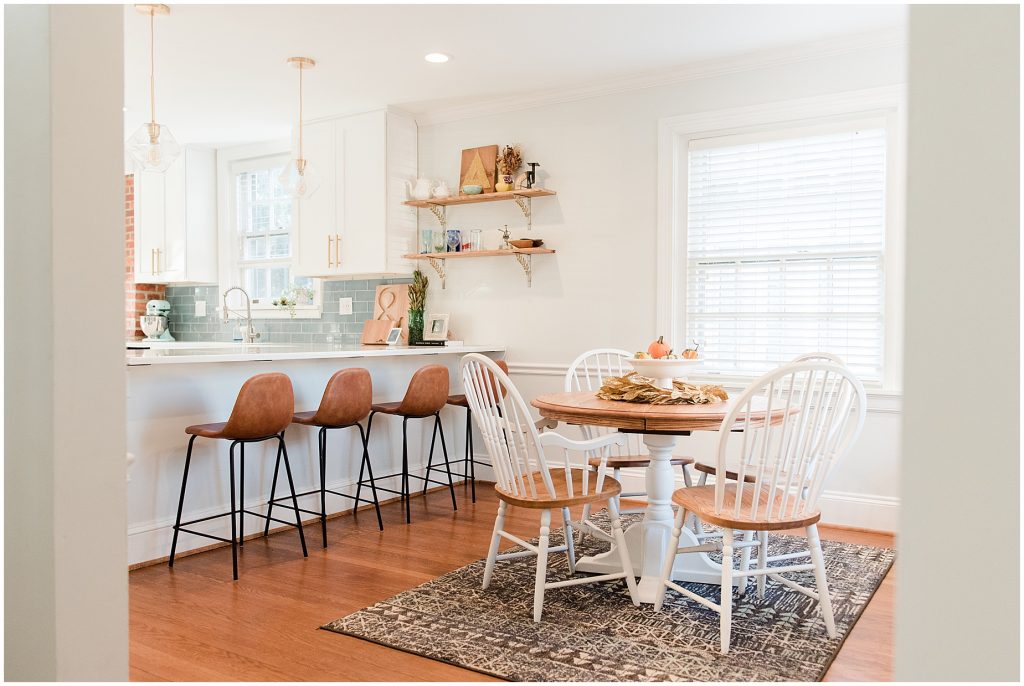
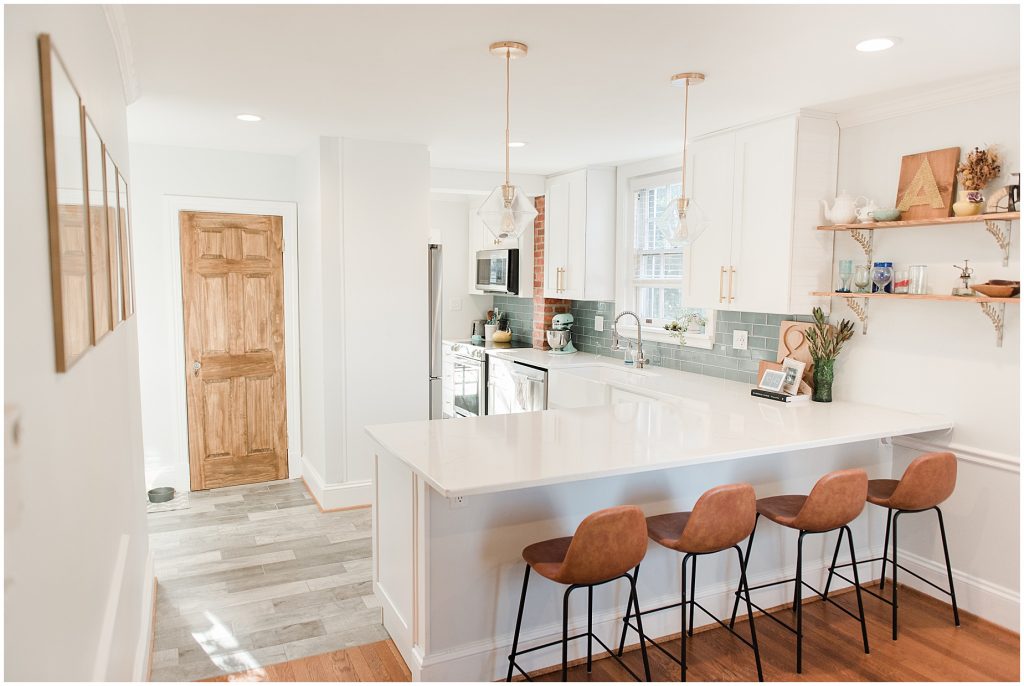
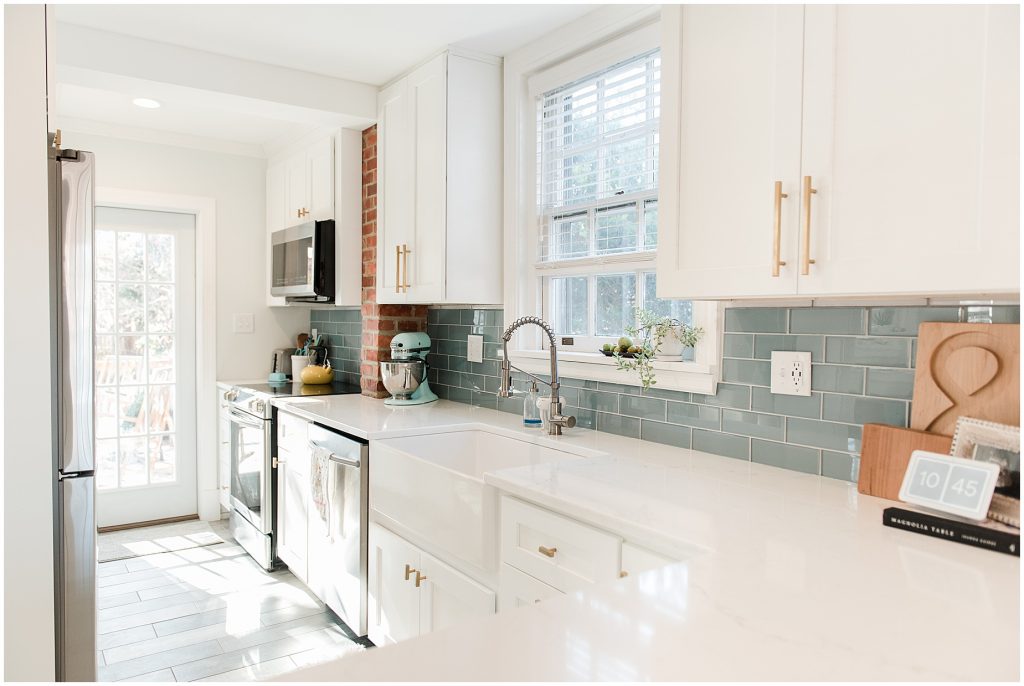
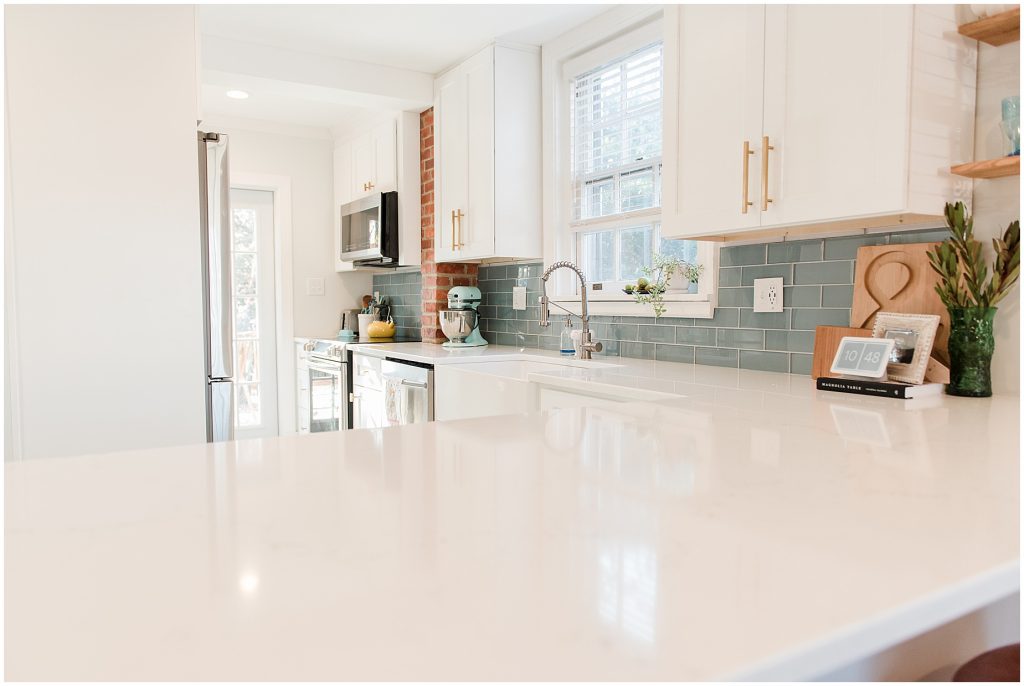
Extra deep counters – Richmond Renovation
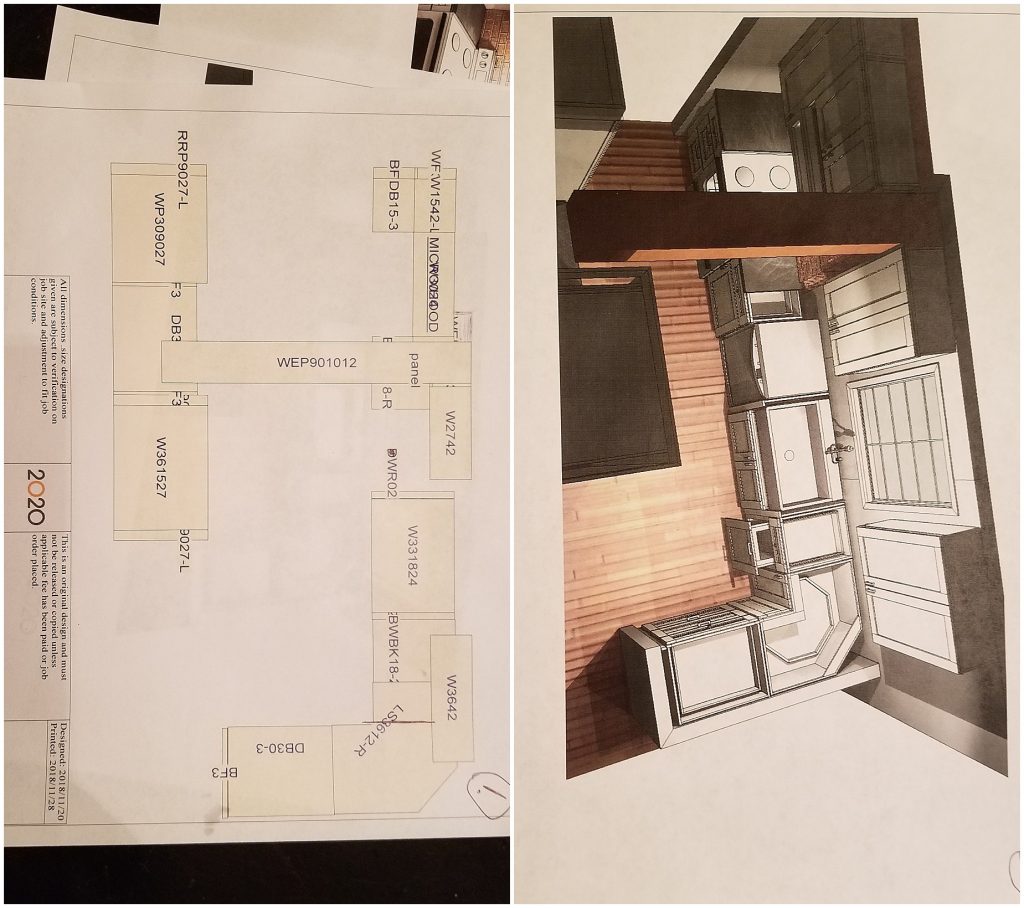
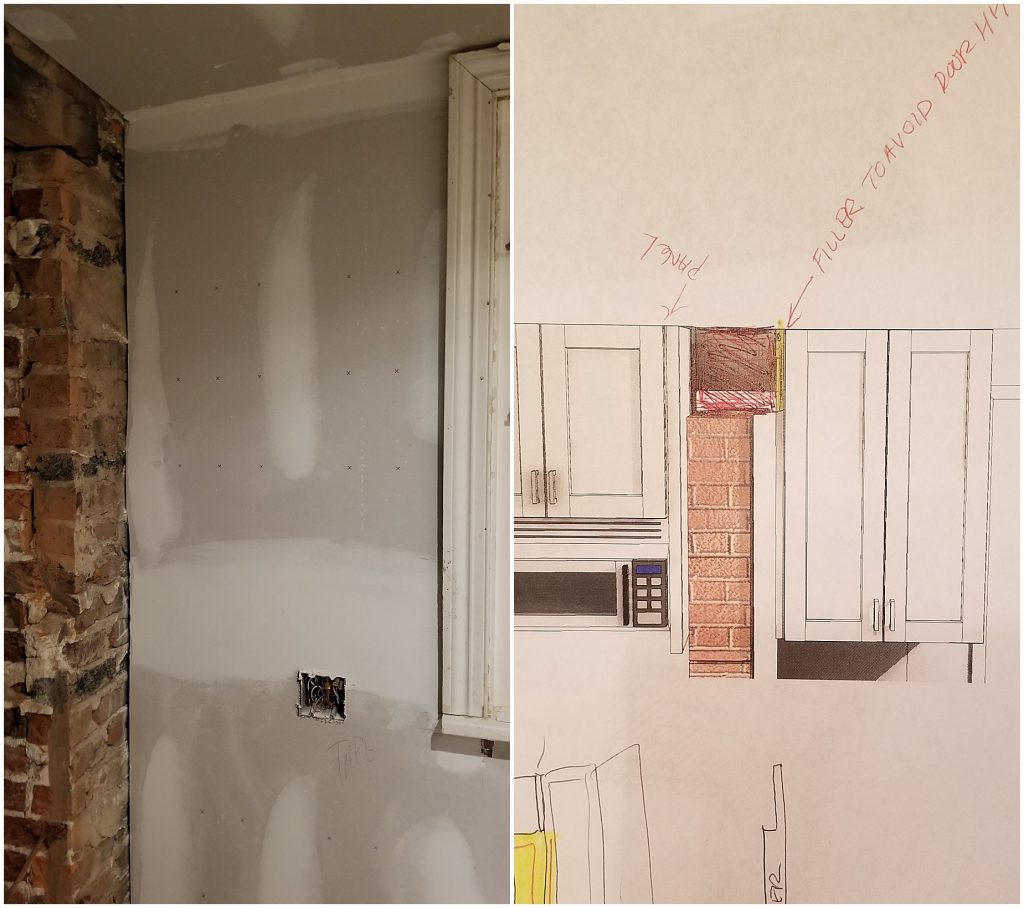
With the rest of the kitchen, we also got new cabinets and counters. All of the stuff you would get with a renovation. The way our kitchen was laid out, where there were different depths on the walls, because of the back edition.
She suggested and we went with these extra deep counter tops. So that it was all flushed together, and it’s awesome. We have so much counter spaces.

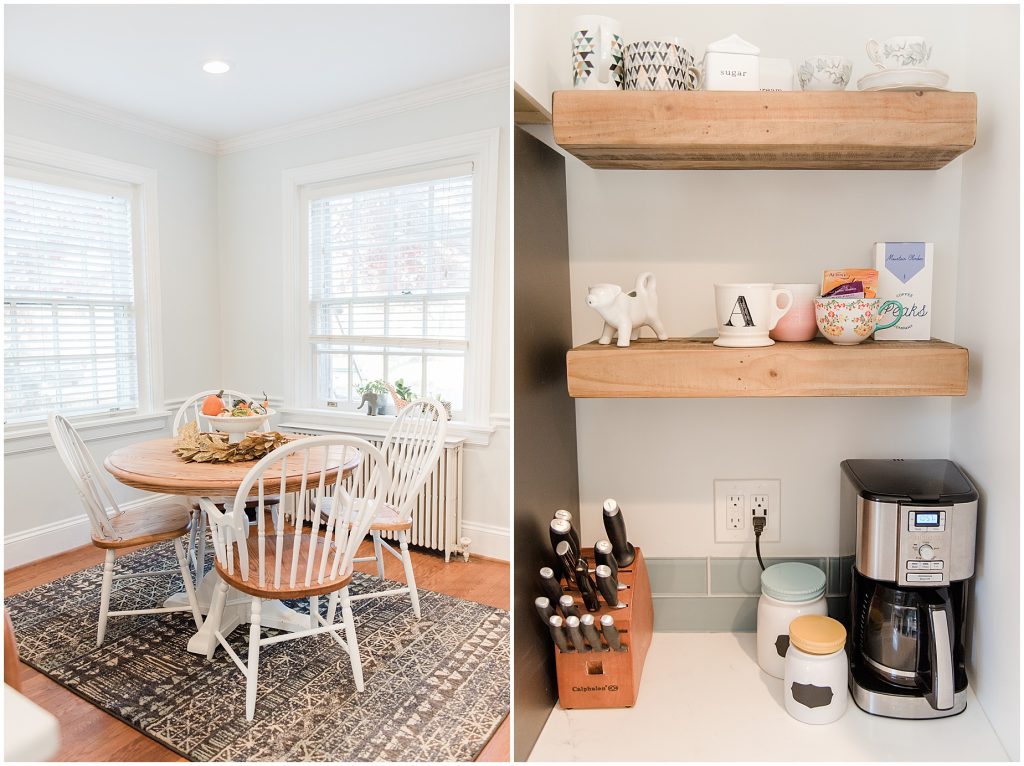
Our favorite kitchen additions – Richmond Renovation
Then right next to the back door, we have one of my favorite pieces, which is the pantry. It’s not a walk-in pantry, like traditional, but these giant drawers that I feel like are pretty common in modern houses now. They can fit all the things. We had, size-wise, a bigger pantry in our last house but could fit less than what this.
I think that’s so true, because of the drawers.
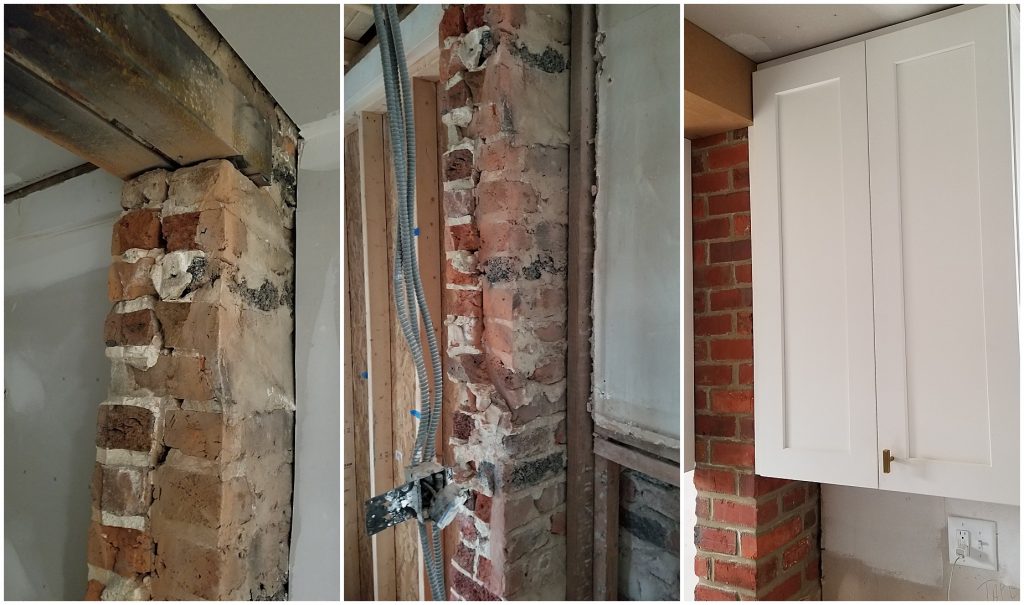
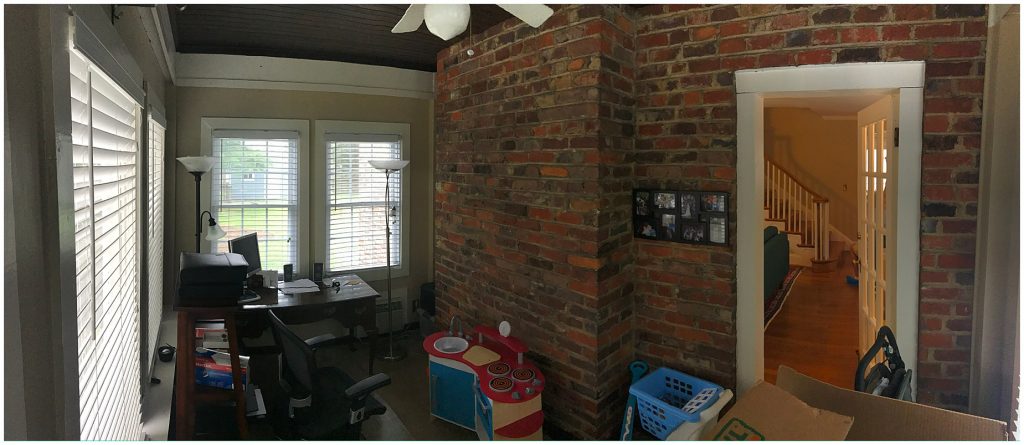
I think my favorite part of the kitchen is that we chose to keep some of the exposed brick from the original exterior of the house. We have a little column of brick that goes through our house which just a sweet little nod to what the house used to be.
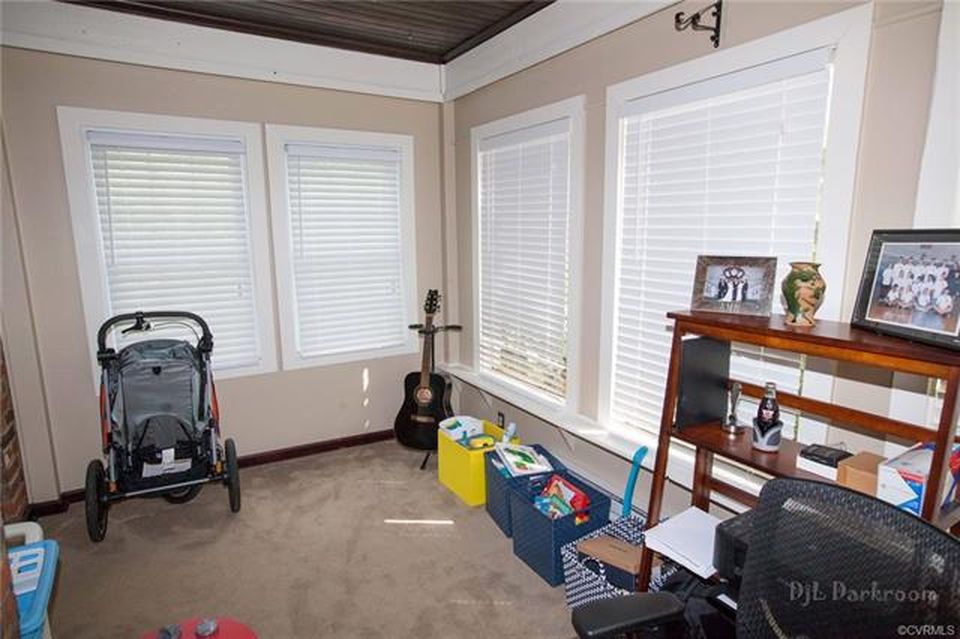
Our Smelly office – Richmond Renovation
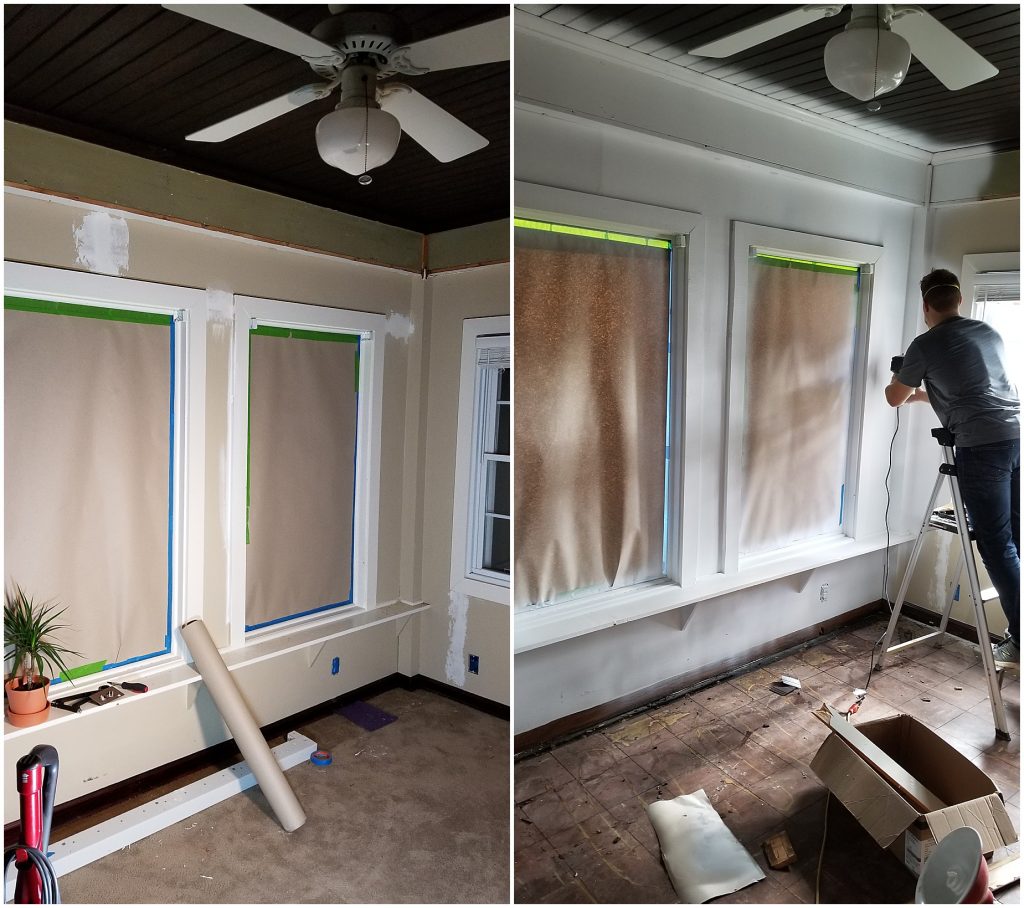
Then the last space in the downstairs that we worked on was our office. Our office was the sun room that was already closed in.
It was carpeted and it was smelly.
Michael didn’t think it was smelly, and I kept telling him I was like “Dude, there is an odor in here, This, we’re going to be working. We’ve got to rip up the carpet.”
And he kept being like… “No, we are redoing every room in the downstairs. Let this be the one room where we just paint it and we’re done”.
And so one day I walked into the office and I ripped up part of the carpet. I just kind of went for it, and there was a puddle of water. Some water had been leaking in through the siding. So my dad helped us fix and correct the outside of the house, where it was leaking in. We ripped up all of the nasty smelly carpet, and then we tiled it on our own.
Which was a great idea.


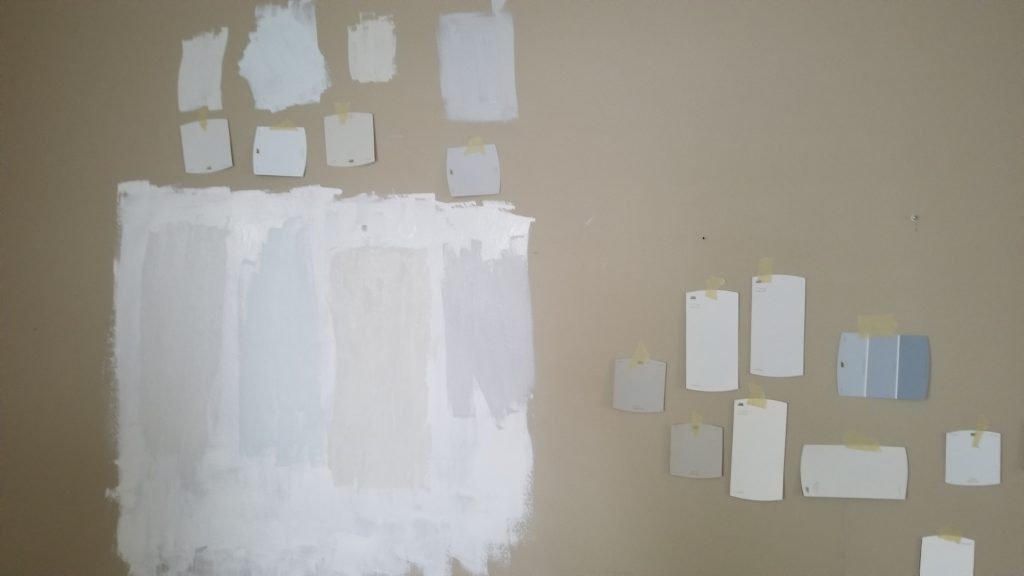
Paint colors – Richmond Renovation
If you’re looking for a paint color, Canyon Wind from Behr at Home Depot.
A lot of people have asked us about our house color. It was like a perfect gray. We went through a ton of different grays. Canyon Wind. It’s gorgeous.
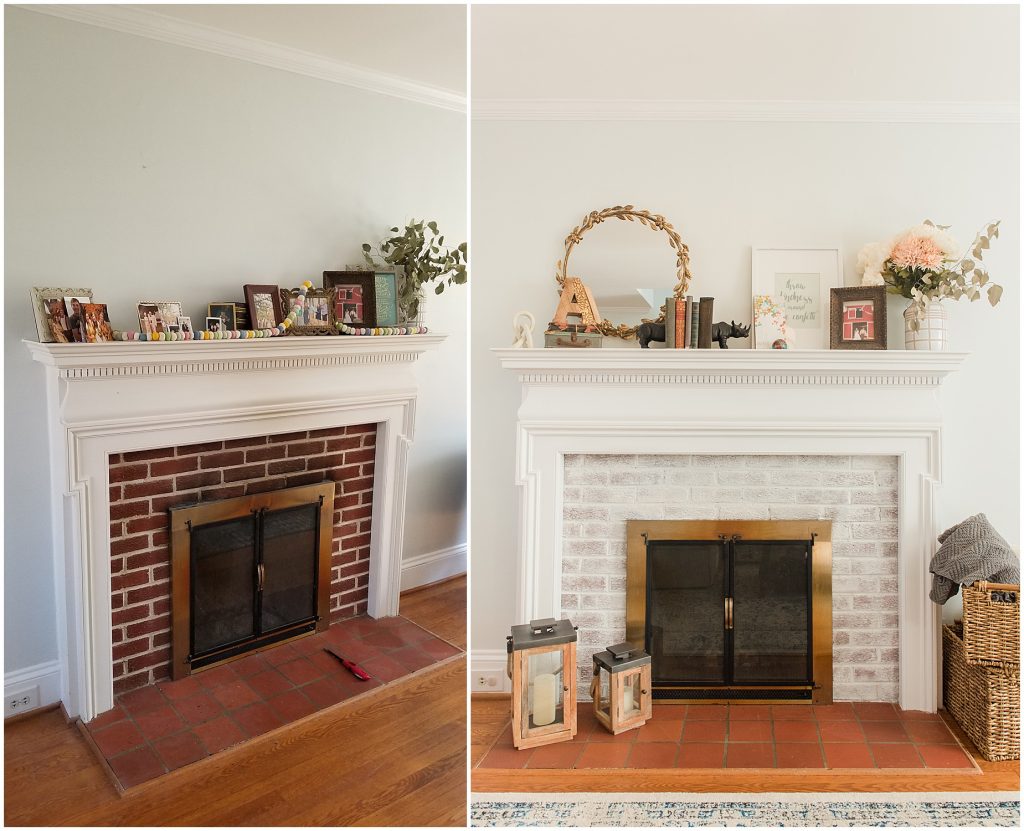
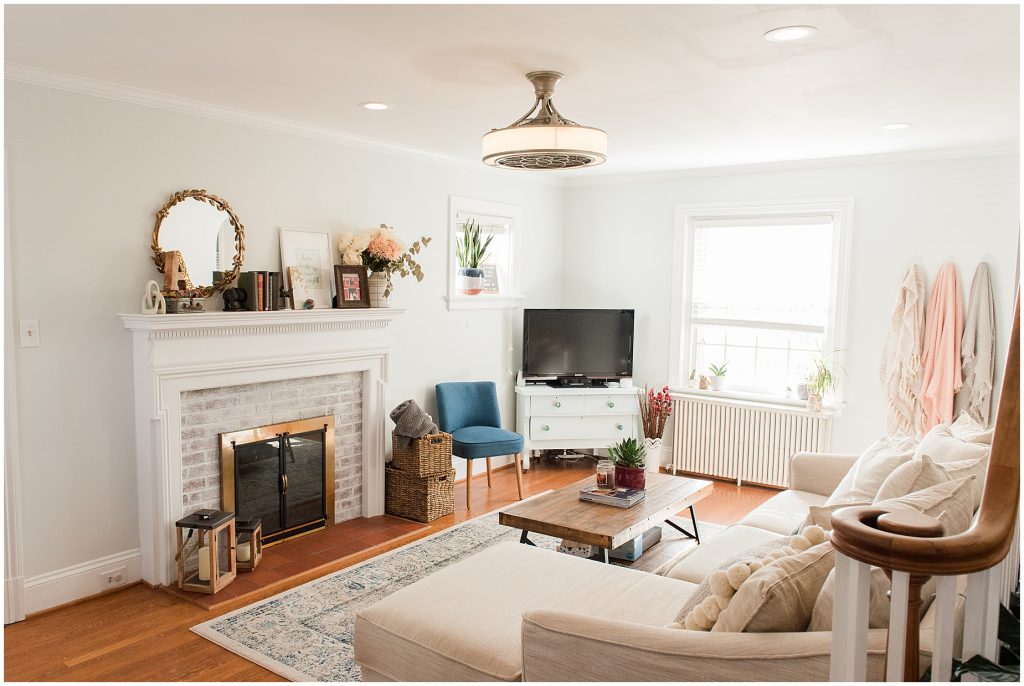
Fireplace – Richmond Renovation
We actually did one more thing. We white-washed our fireplace, which I also loved. It was really red brick, and the rest of our house became so nice and light that we decided to white-wash it. And I think that that was a really good idea too. It was so simple and easy to do. And I think made a big difference.
And at the same time, we also bought tile to re-tiled, the floor where the fireplace is. But that’s been sitting in our closet. We’ll get to that soon. So keep eye in our insta-stories.
Yeah, we will be sure to insta-story it. You know we love a project, so we’ll share that too.
If you have any questions about the downstairs, people we used, or recommendations, let us know and we will get to the upstairs in a later blog.
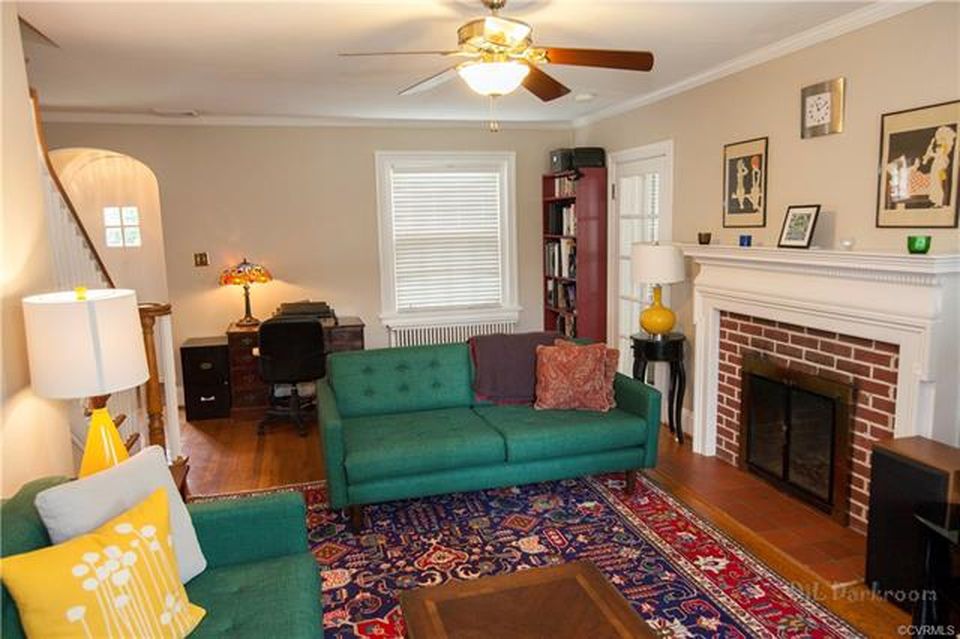
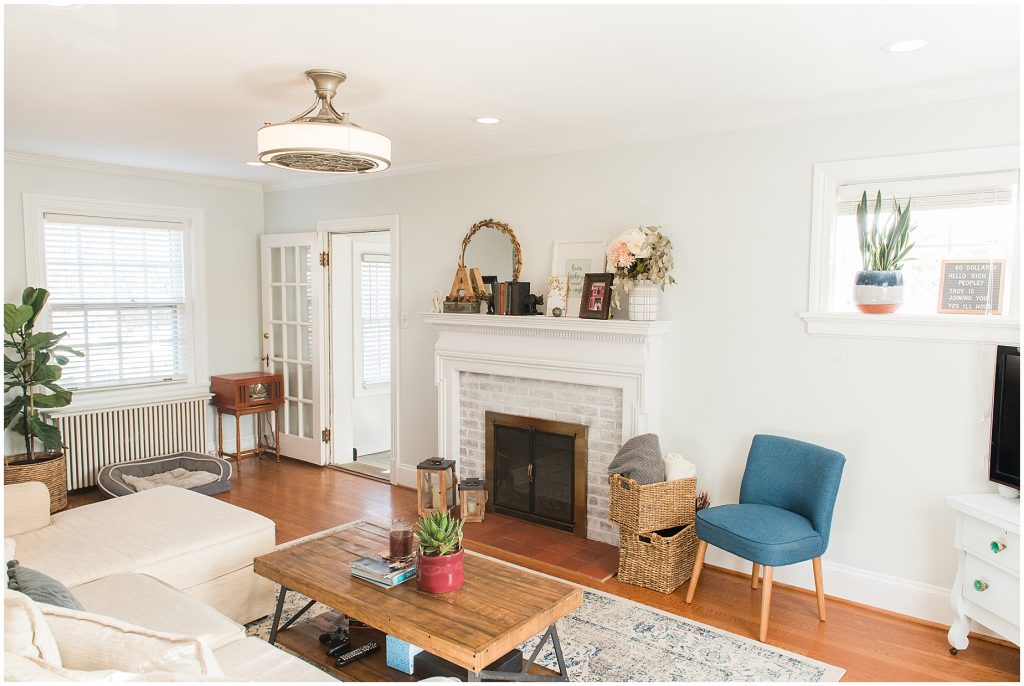
Before and Afters:
Living Room

 Kitchen:

Bathroom:

Office:
Quick Links
- Help with designing a remodel – https://www.instagram.com/roseneath_reno/
- Contractor – David with Richmond Rebuilders – https://www.linkedin.com/in/david-clark-6604376
- Bagsters – https://www.homedepot.com/p/WM-Bagster-WM-Bagster-Dumpster-in-a-Bag-Holds-up-to-3-300-lb-775-658/202228840
- Cabinets from Express Wholesale Cabinets – http://www.expresswholesalecabinets.com/
- Counters from Artistic Stone and Design –https://www.artisticstonerichmond.com/
- Paint Color – https://www.behr.com/consumer/ColorDetailView/BL-W12
- Tile – Floor and Decor – https://www.flooranddecor.com/

we're Michael & Laura


")

weddings
hey friends,
a husband and wife photography team based in Richmond, Virginia (though we LOVE to travel!). We hope you enjoy browsing some of our most recent work, reading our tips and tricks for brides, and taking a little peek into our life.
+ More about us
engagements
personal
For Brides
more categories
Lifestyle
For Photographers
Seniors

Let's be friends
photographers in love, for people in love